🧰 Hardware
This page explains the hardware build of an AllSky camera: first the basic setup (to run reliably), then optional sensors to extend it.
Prices are rough estimates. Many parts come in multiple variants — when in doubt, ask the community.
Quick overview
- Basic setup: makes the camera produce images reliably.
- Advanced setup: sensors for data, monitoring & quality.
- At the end: full parts list with prices and search.
💶 Budget & options
As of: 2026-07-11 • Prices may vary by vendor
Optional sensor share: 29.70 €
•
Total without sensors: 379.50 €
Grand total
409.20 €
Tip: start small — you can add sensors later.
⚙️ Basic setup
These parts are the core: compute, power, storage, and the camera module. This gives you a stable 24/7 system.
Goal: 24/7 camera operation with images & outputs.
🍓 Raspberry Pi (computer)
Must-have
You can use a Raspberry Pi 4 or 5. I recommend at least 4GB RAM (more is better) because image processing, timelapse/keogram/startrails and uploads run in parallel.
Tip: ensure solid cooling for 24/7 operation — especially on the Pi 5.
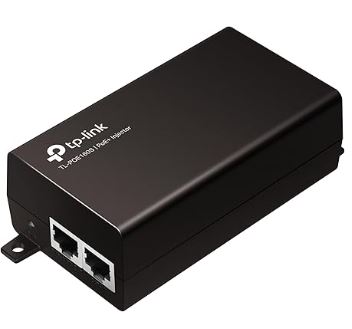
🔌 Power (PoE or PSU)
Must-have
For outdoor operation I recommend PoE: you need a PoE switch or injector/PSU with at least 30W. The PoE HAT must match your Raspberry Pi model/version.
PoE HAT requirement: IEEE 802.3af/at PoE standard, 5V USB-A and 12V header outputs.
💾 Storage (SD card)
Must-have
I use an SD card as system storage. Minimum 64GB — 128GB is better so logs, updates and buffers remain stable long-term.
Tip: choose a high-quality SD card (continuous writes).
📷 Camera module (e.g. HQ) + lens
Must-have
For the camera you can use the Raspberry Pi HQ camera (classic) — alternatively ZWO ASI cameras work as well. For the lens I use a fisheye to capture as much sky as possible.
Tip: a good fisheye lens is the biggest lever for field of view and image quality.
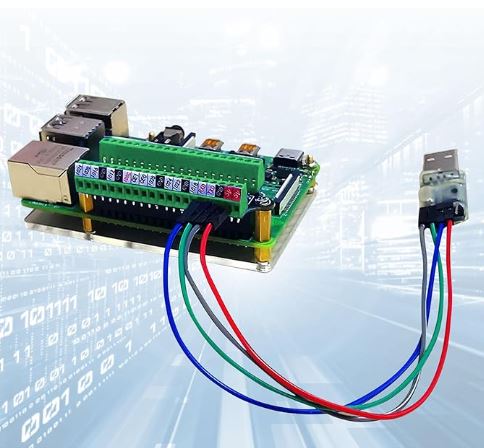
🧷 Small parts (cables, adapters, screws)
Required
Besides cables/adapters you typically need a screw-terminal HAT for clean wiring and a 5V fan for cooling inside the housing.
Tip: clean cable routing reduces failures and makes maintenance easier.
🌐 Network (LAN/Wi-Fi)
Required
For outdoor operation LAN is usually the most reliable option. For the transition to the outside I recommend a waterproof RJ45 coupler to keep the connection stable long-term.
Tip: use outdoor-rated patch cables and add strain relief.
🧷 Relay (switch heater/fan)
Required
Lets you control the 12V heater and/or additional fans automatically. This makes the system more robust in changing conditions.
Tip: keep power paths separated (5V Pi vs 12V heater) and ensure clean grounding.
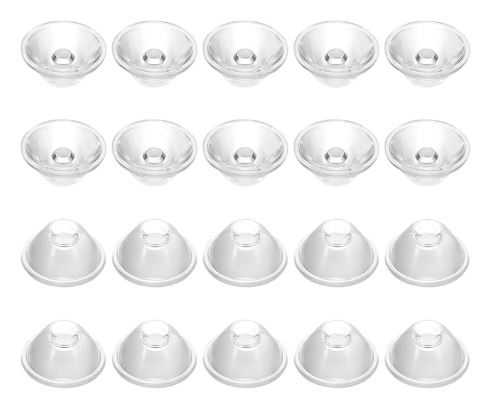
🫧 Acrylic dome & sealing ring
Required
The acrylic dome protects camera and optics. A matching sealing ring (O-ring) ensures a clean and weatherproof closure at the housing.
Tip: clean the dome regularly — dirt and micro-scratches directly affect image quality.
Next step
Once the base hardware is set, the next step is the housing (weatherproofing, dome, heater, ventilation).
🧪 Extensions: Sensors & Extras
With sensors you can make the camera more “scientific”: weather data, sky brightness and cloud indicators can be linked to your images and stored centrally.
All optional — you can upgrade later anytime.
🌡️ Environment sensor (BME280)
Recommended
Measures temperature, air pressure and (depending on the module) humidity. Helpful for diagnostics and explaining dew/image effects caused by weather.
Tip: don’t place the sensor directly in the heater airflow — mount it slightly away inside the housing.
🌌 Sky brightness (TSL2591 / SQM alternative)
Recommended
Captures sky brightness (light pollution, moonlight, clouds). Great for comparing nights and setting processing thresholds.
Tip: calibration pays off (e.g. against an SQM/TESS). Mount it to avoid stray light from the housing.
☁️ Cloud indicator (MLX90614 IR)
Optional
Measures IR temperatures (sky vs ambient). This can be used to derive cloudiness/clearness indicators.
Tip: keep a clear view upwards and avoid warm housing parts — they will bias the readings.
💧 Humidity / extra sensor (DHT / SHT / HTU)
Optional
Extra humidity measurements (inside/outside) help detect condensation issues and control fan/heater more intelligently.
Tip: for more reliable values, SHT/HTU sensors are often better than DHT variants.
🧊 Temperature probe (DS18B20)
Optional
A simple and robust temperature probe (e.g. for the housing interior or near the dome). Useful for debugging and control loops.
Tip: seal cable feed-throughs properly — moisture likes to travel along wires into the housing.
When do sensors really pay off?
If you want comparability: same camera design, different sites/nights. Sensor data helps classify image quality, clouds and sky brightness more objectively.
📦 Parts explorer
Below is the full parts list as a reference. Search filters across all categories; you can toggle sensors on/off.