🌌 📷 Camera build – guide & parts list
This is your entry point to building an AllSky camera: what the system does, which building blocks exist, and how to proceed step by step.
- Long-term sky monitoring
- Automatic outputs (timelapse, keogram, star trails)
- Optional: sensors (temperature, SQM, clouds, …)
- Upload to allskykamera.space under your camera ID
🧭 Jump to the build sections
🧩 Important note about this build guide
Everything you find here is based on my personal camera design. I intentionally keep the setup as simple as possible and describe every step clearly — but it applies to the camera variants I build.
If you use different parts or add extra features, details may differ. Use this guide as a solid baseline and adapt it when needed.
✨ What is an AllSky camera?
An AllSky camera captures the sky automatically and generates outputs like daily/night images, timelapses, keograms and star trails. Optionally you can add sensors and store measurements centrally.
📌 What you will end up with
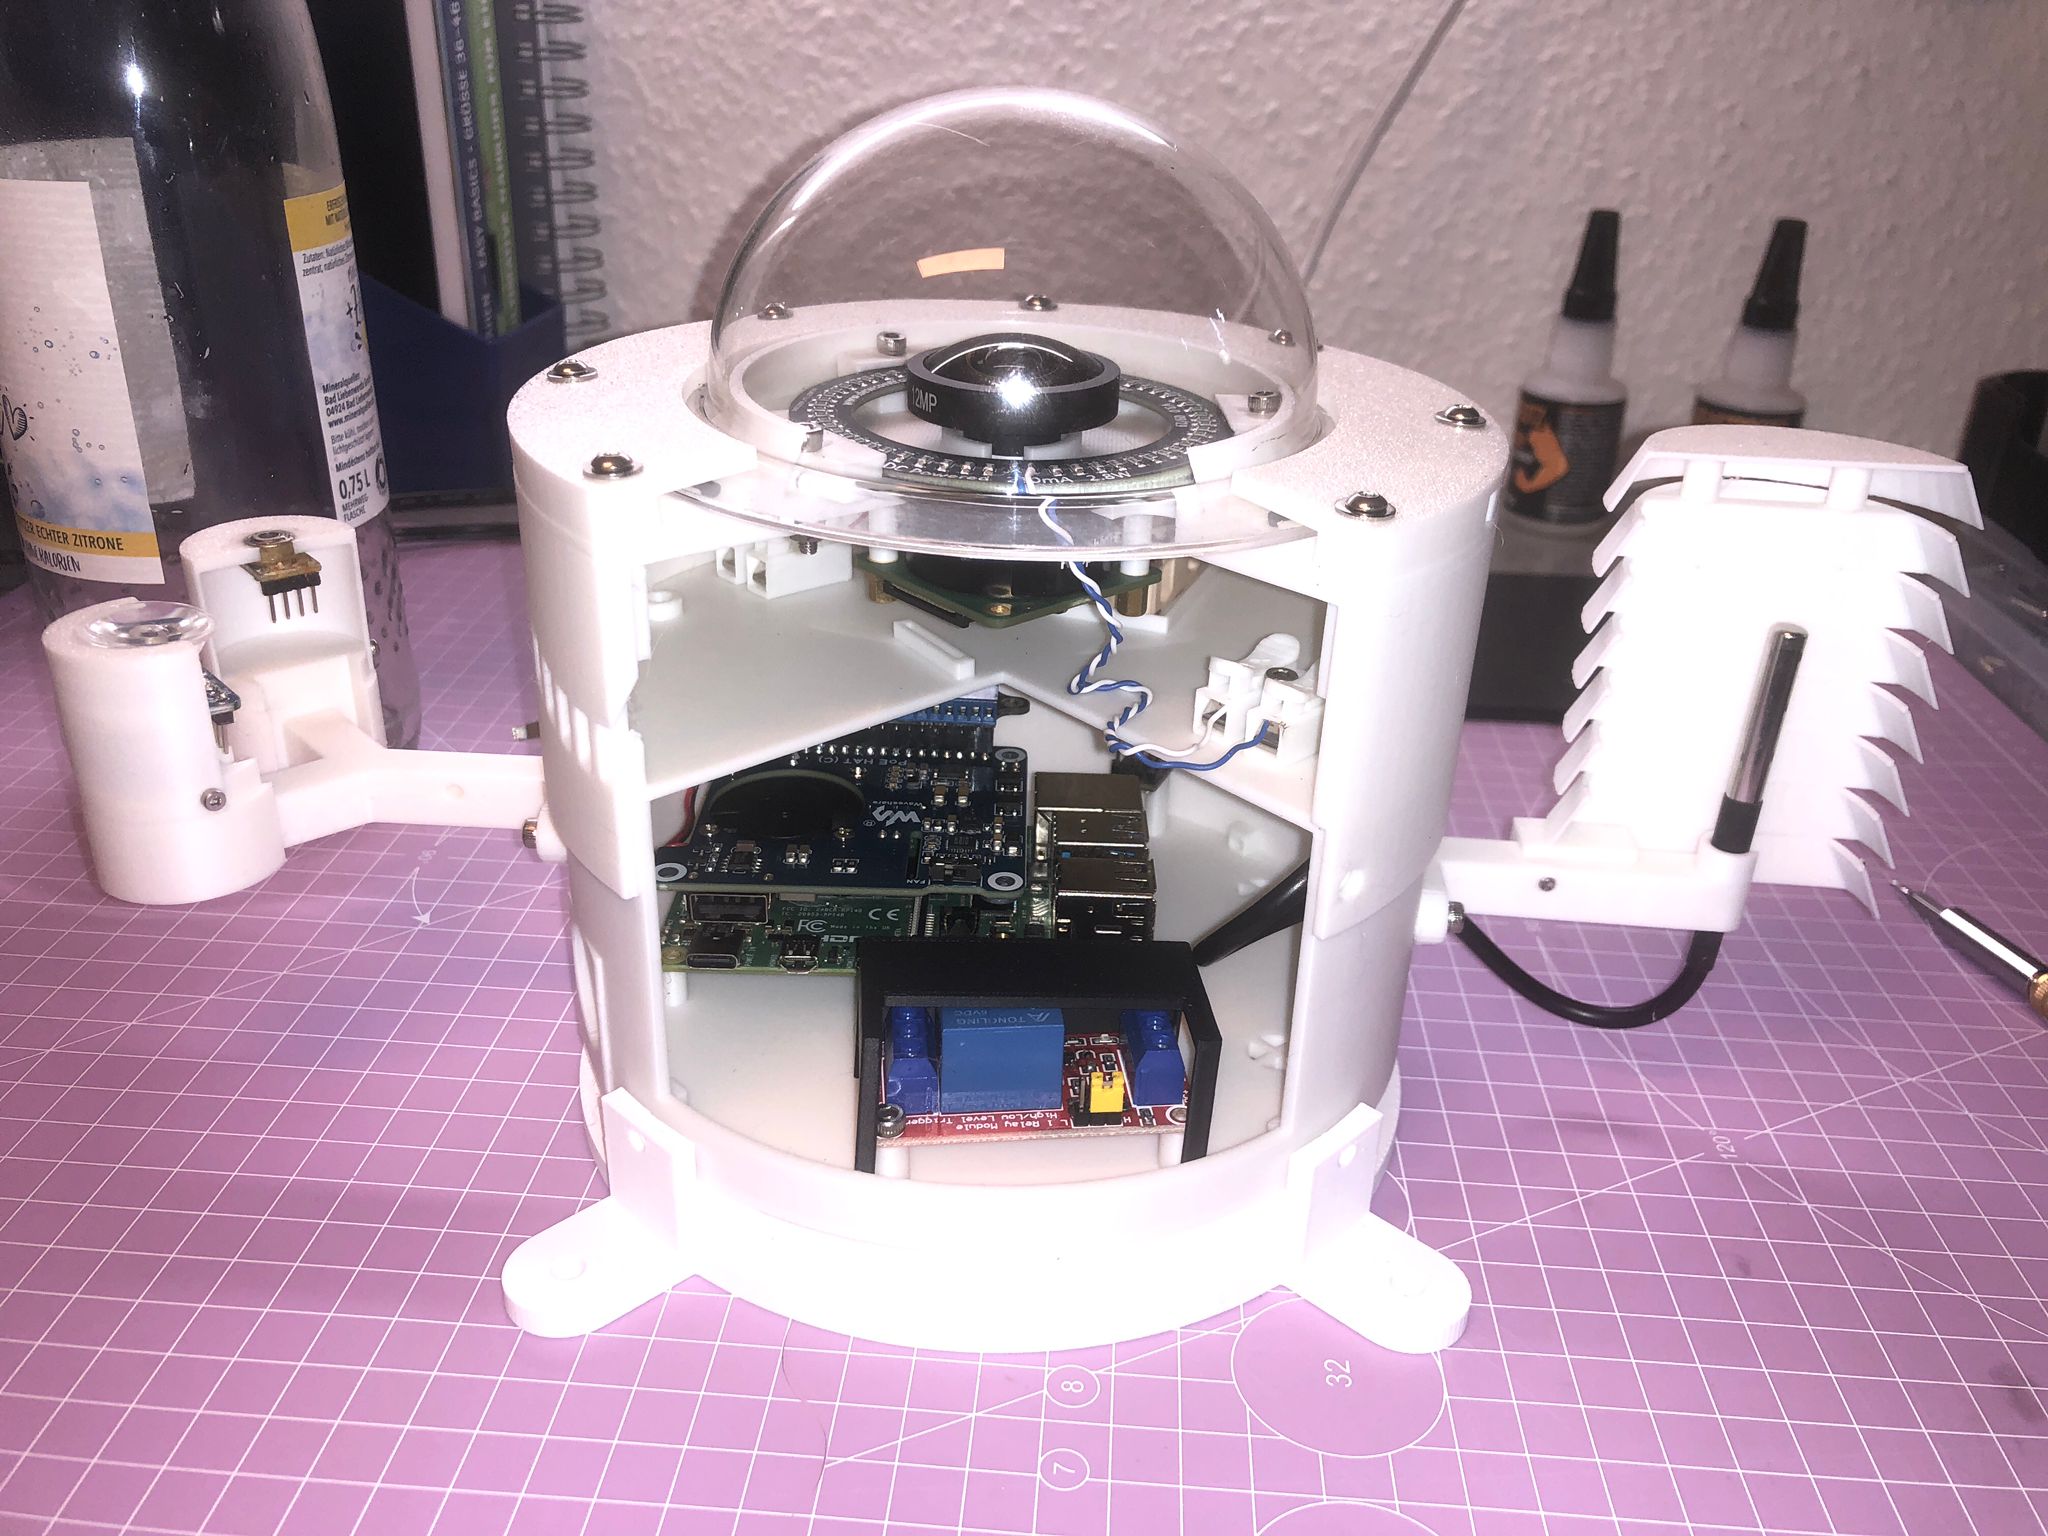
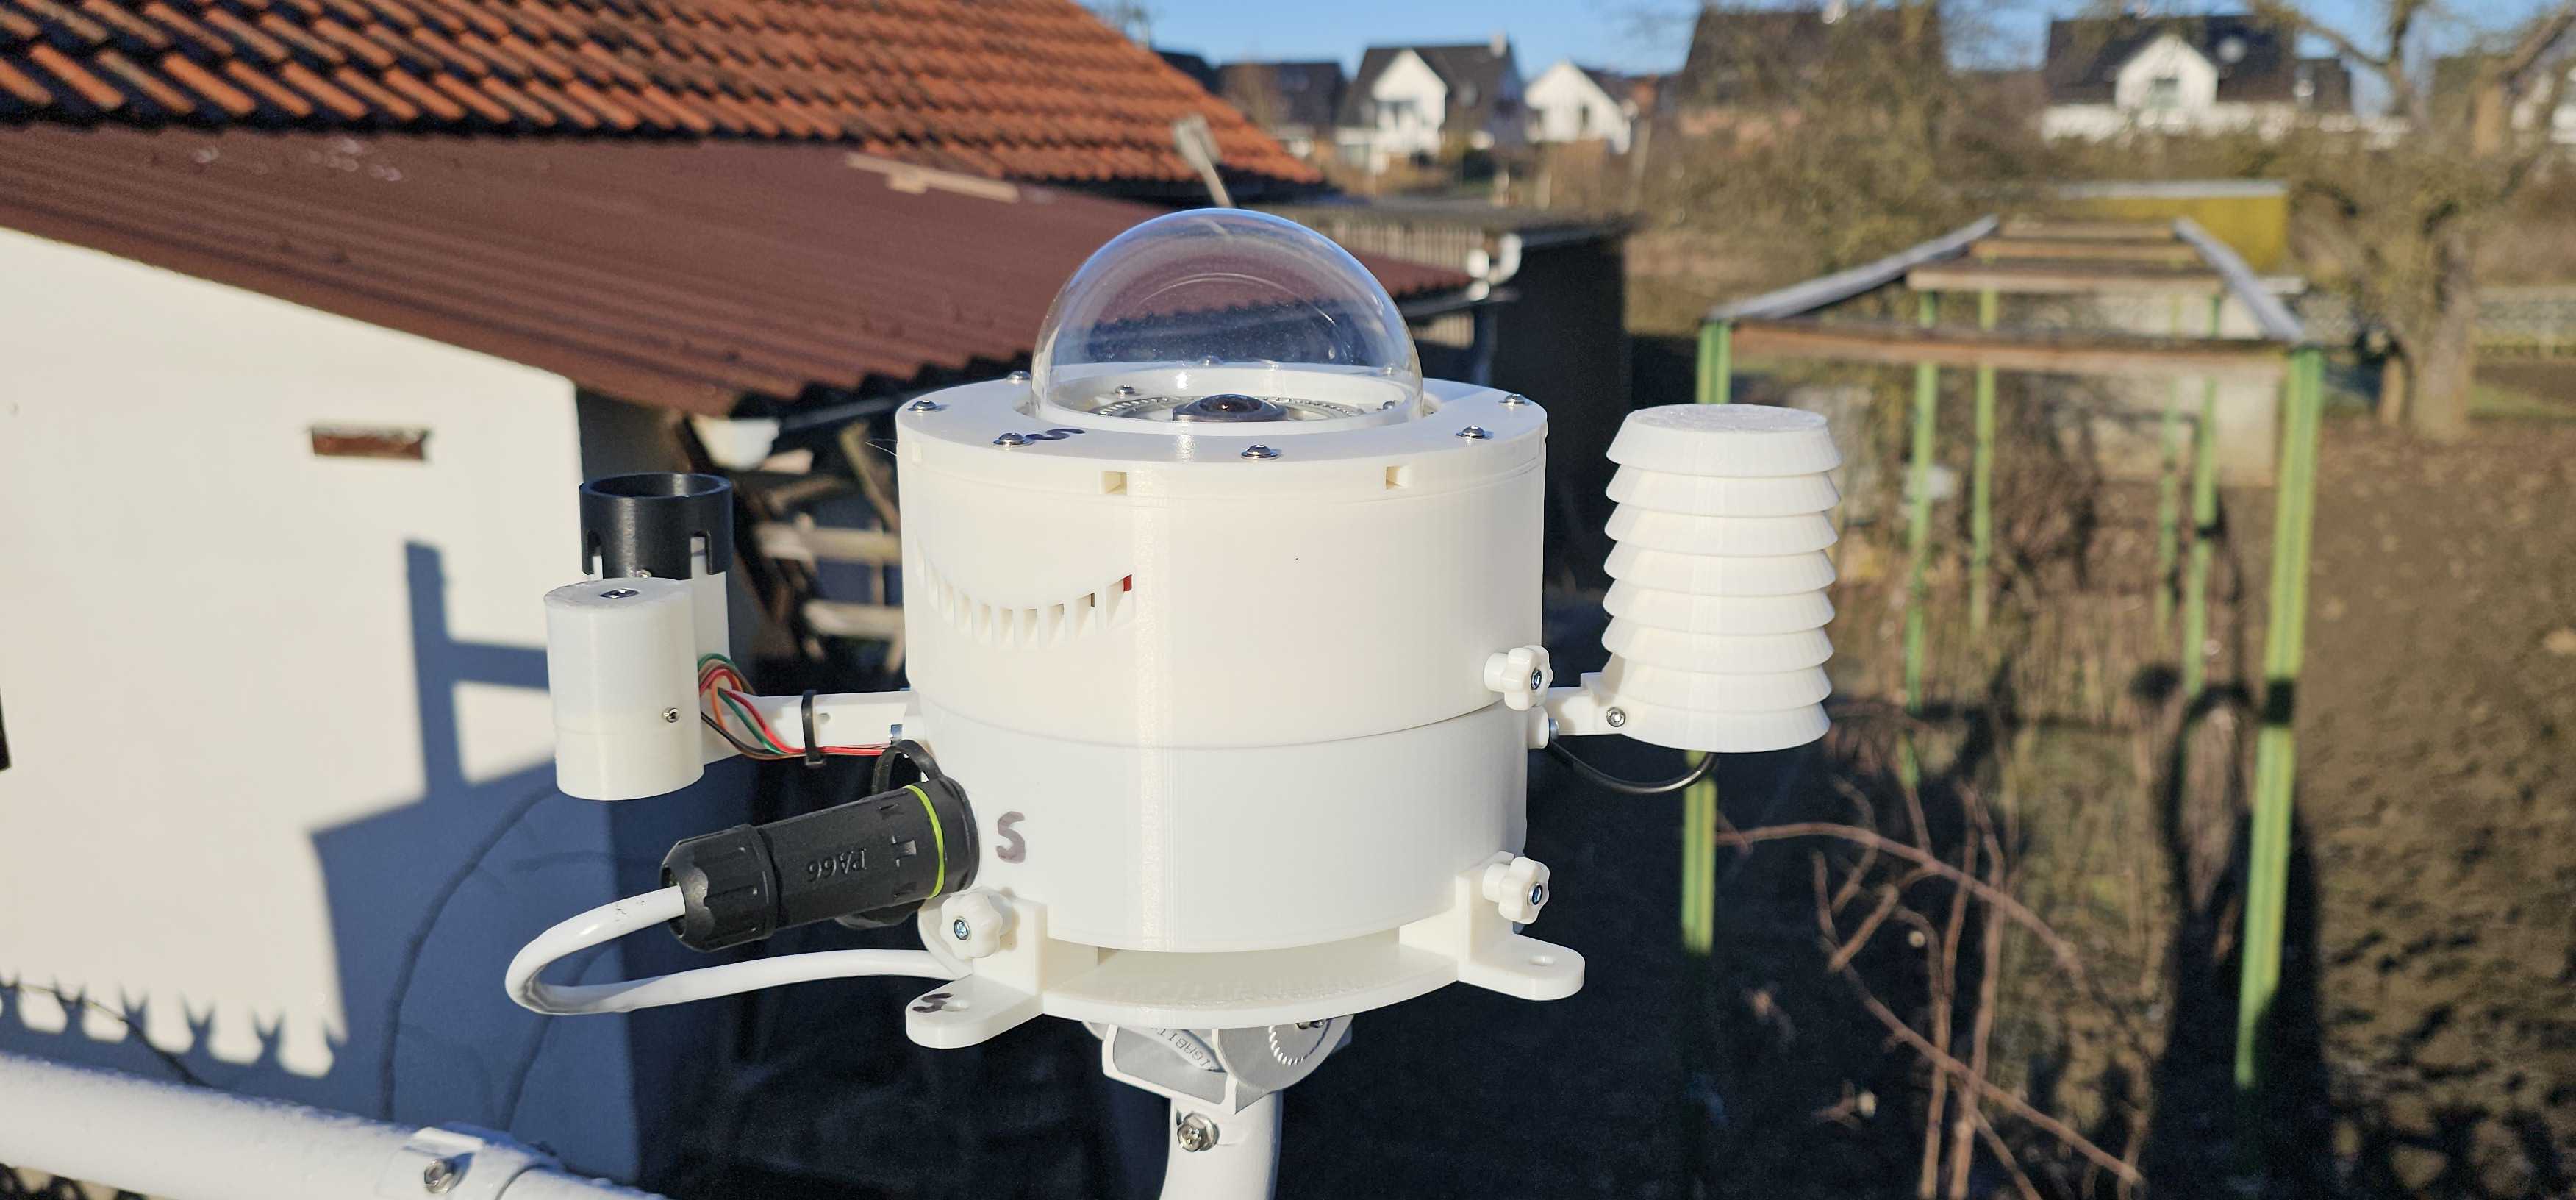
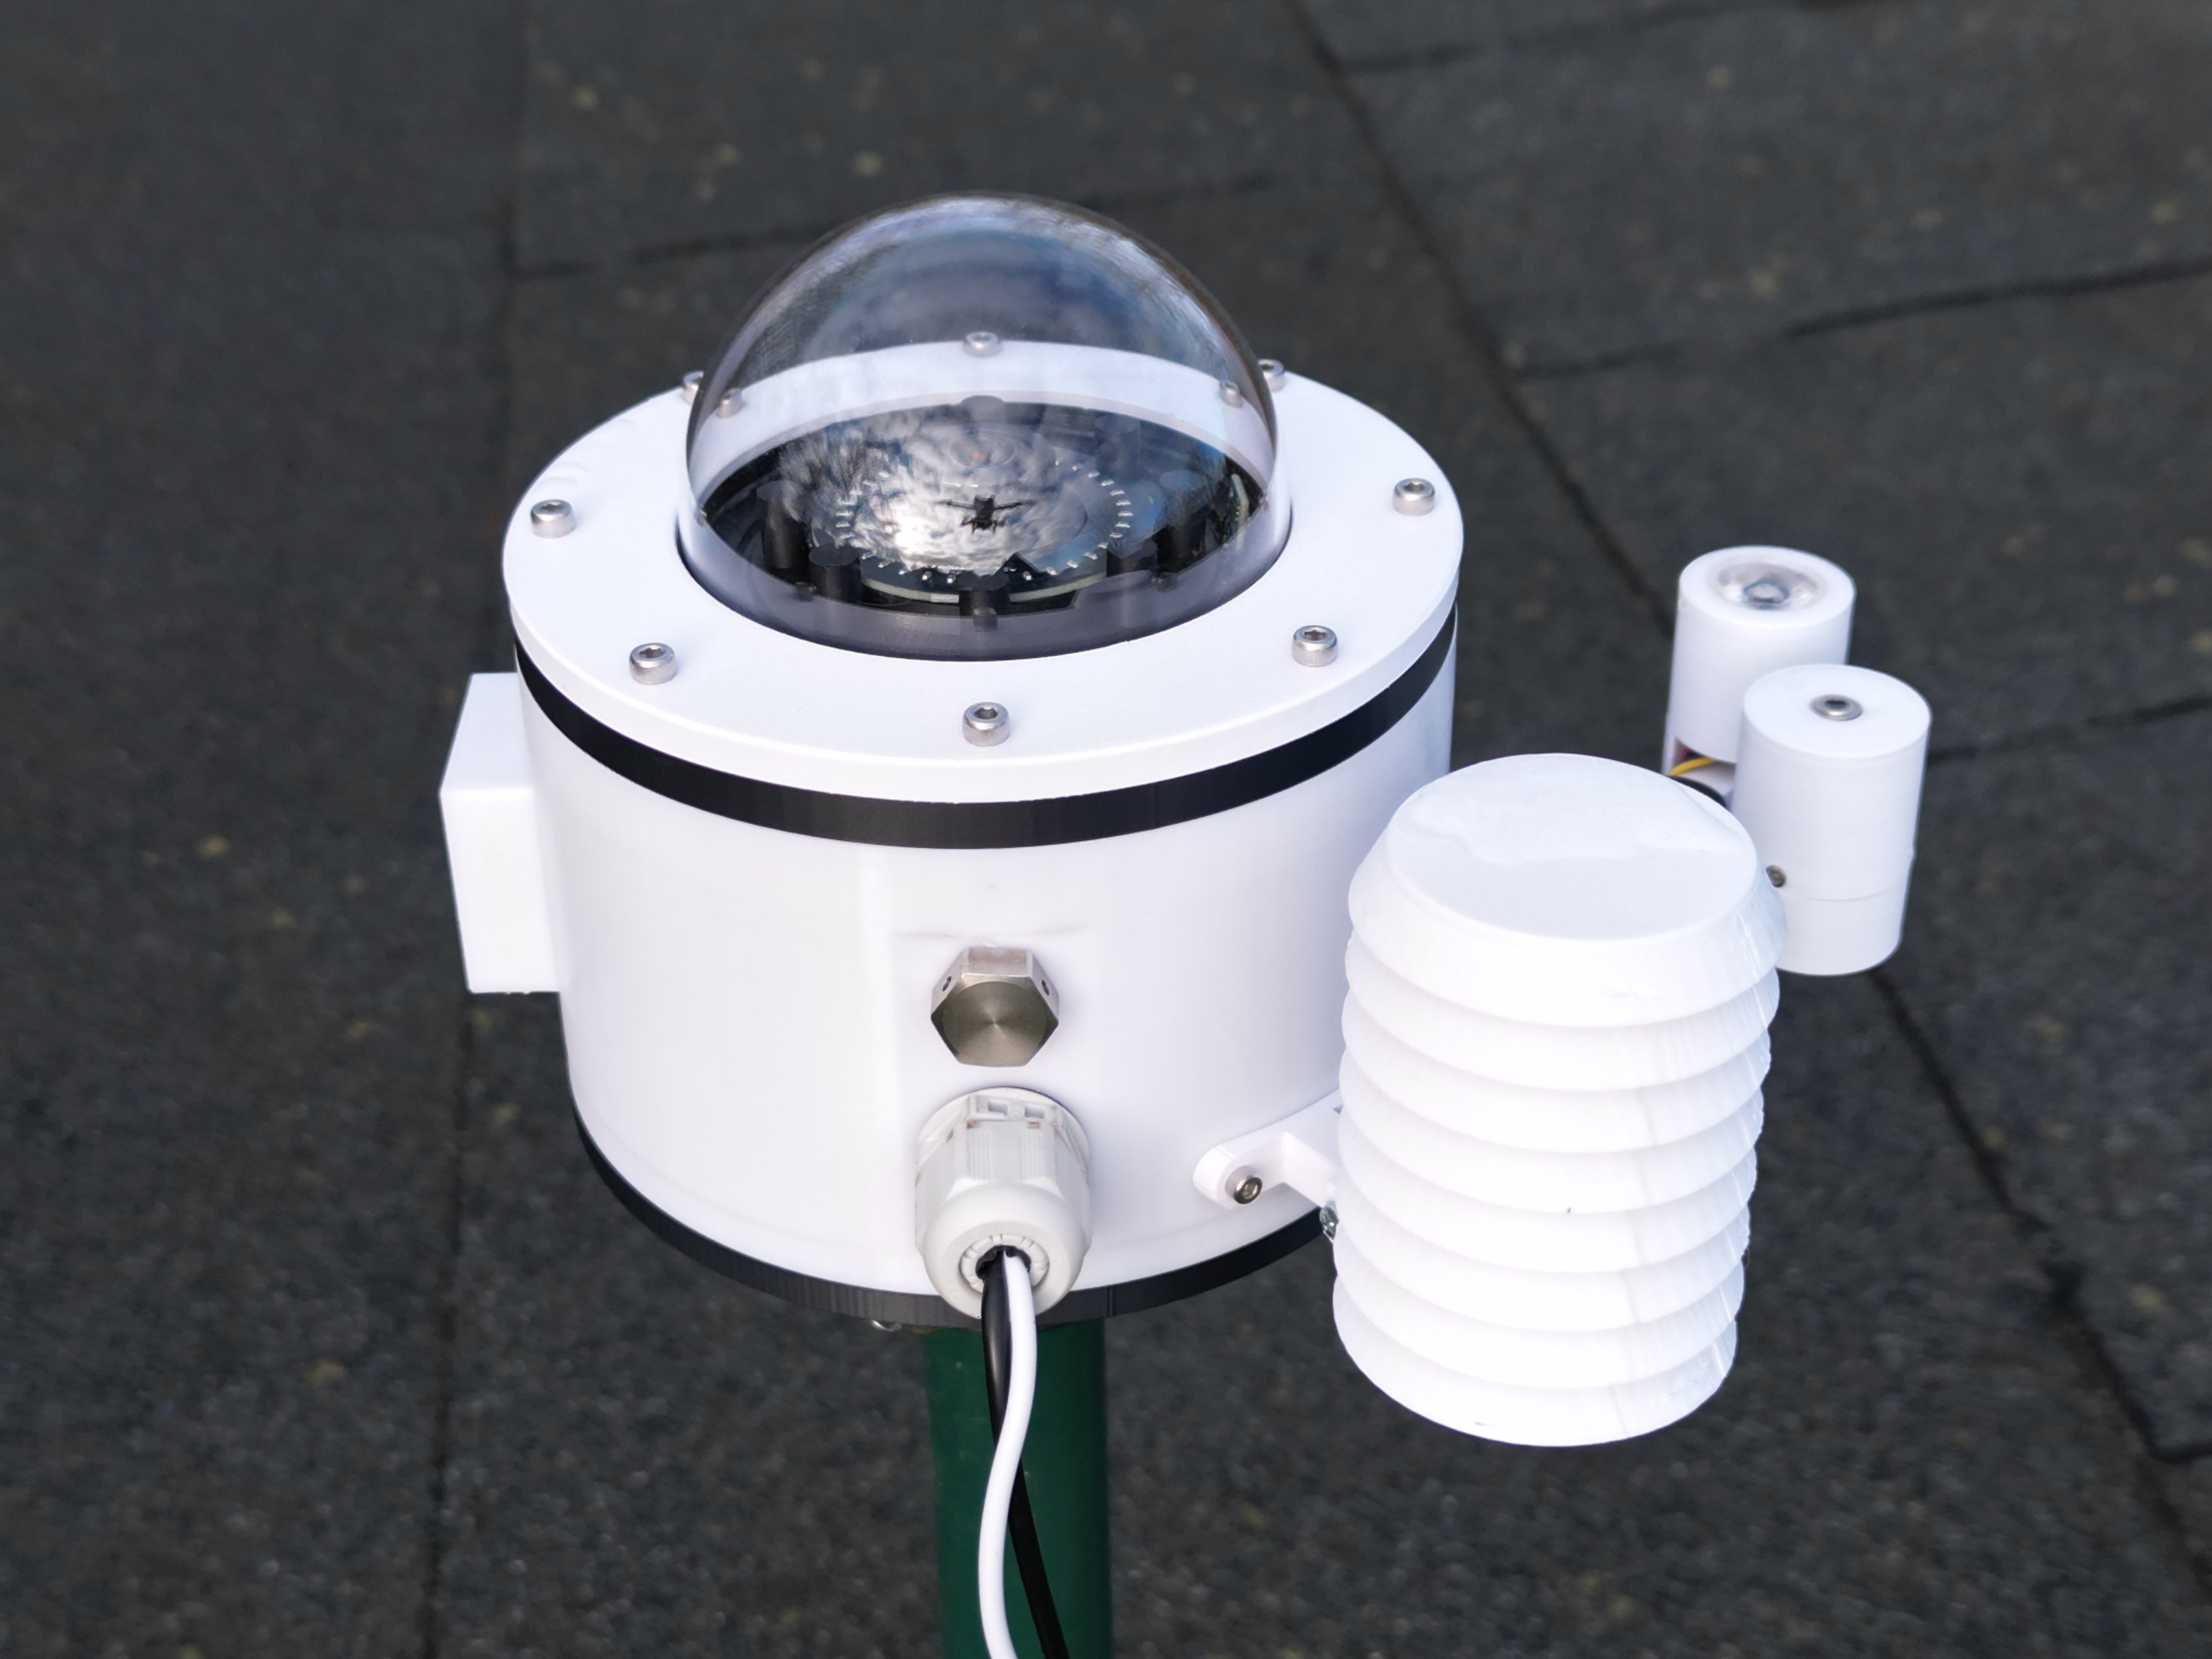
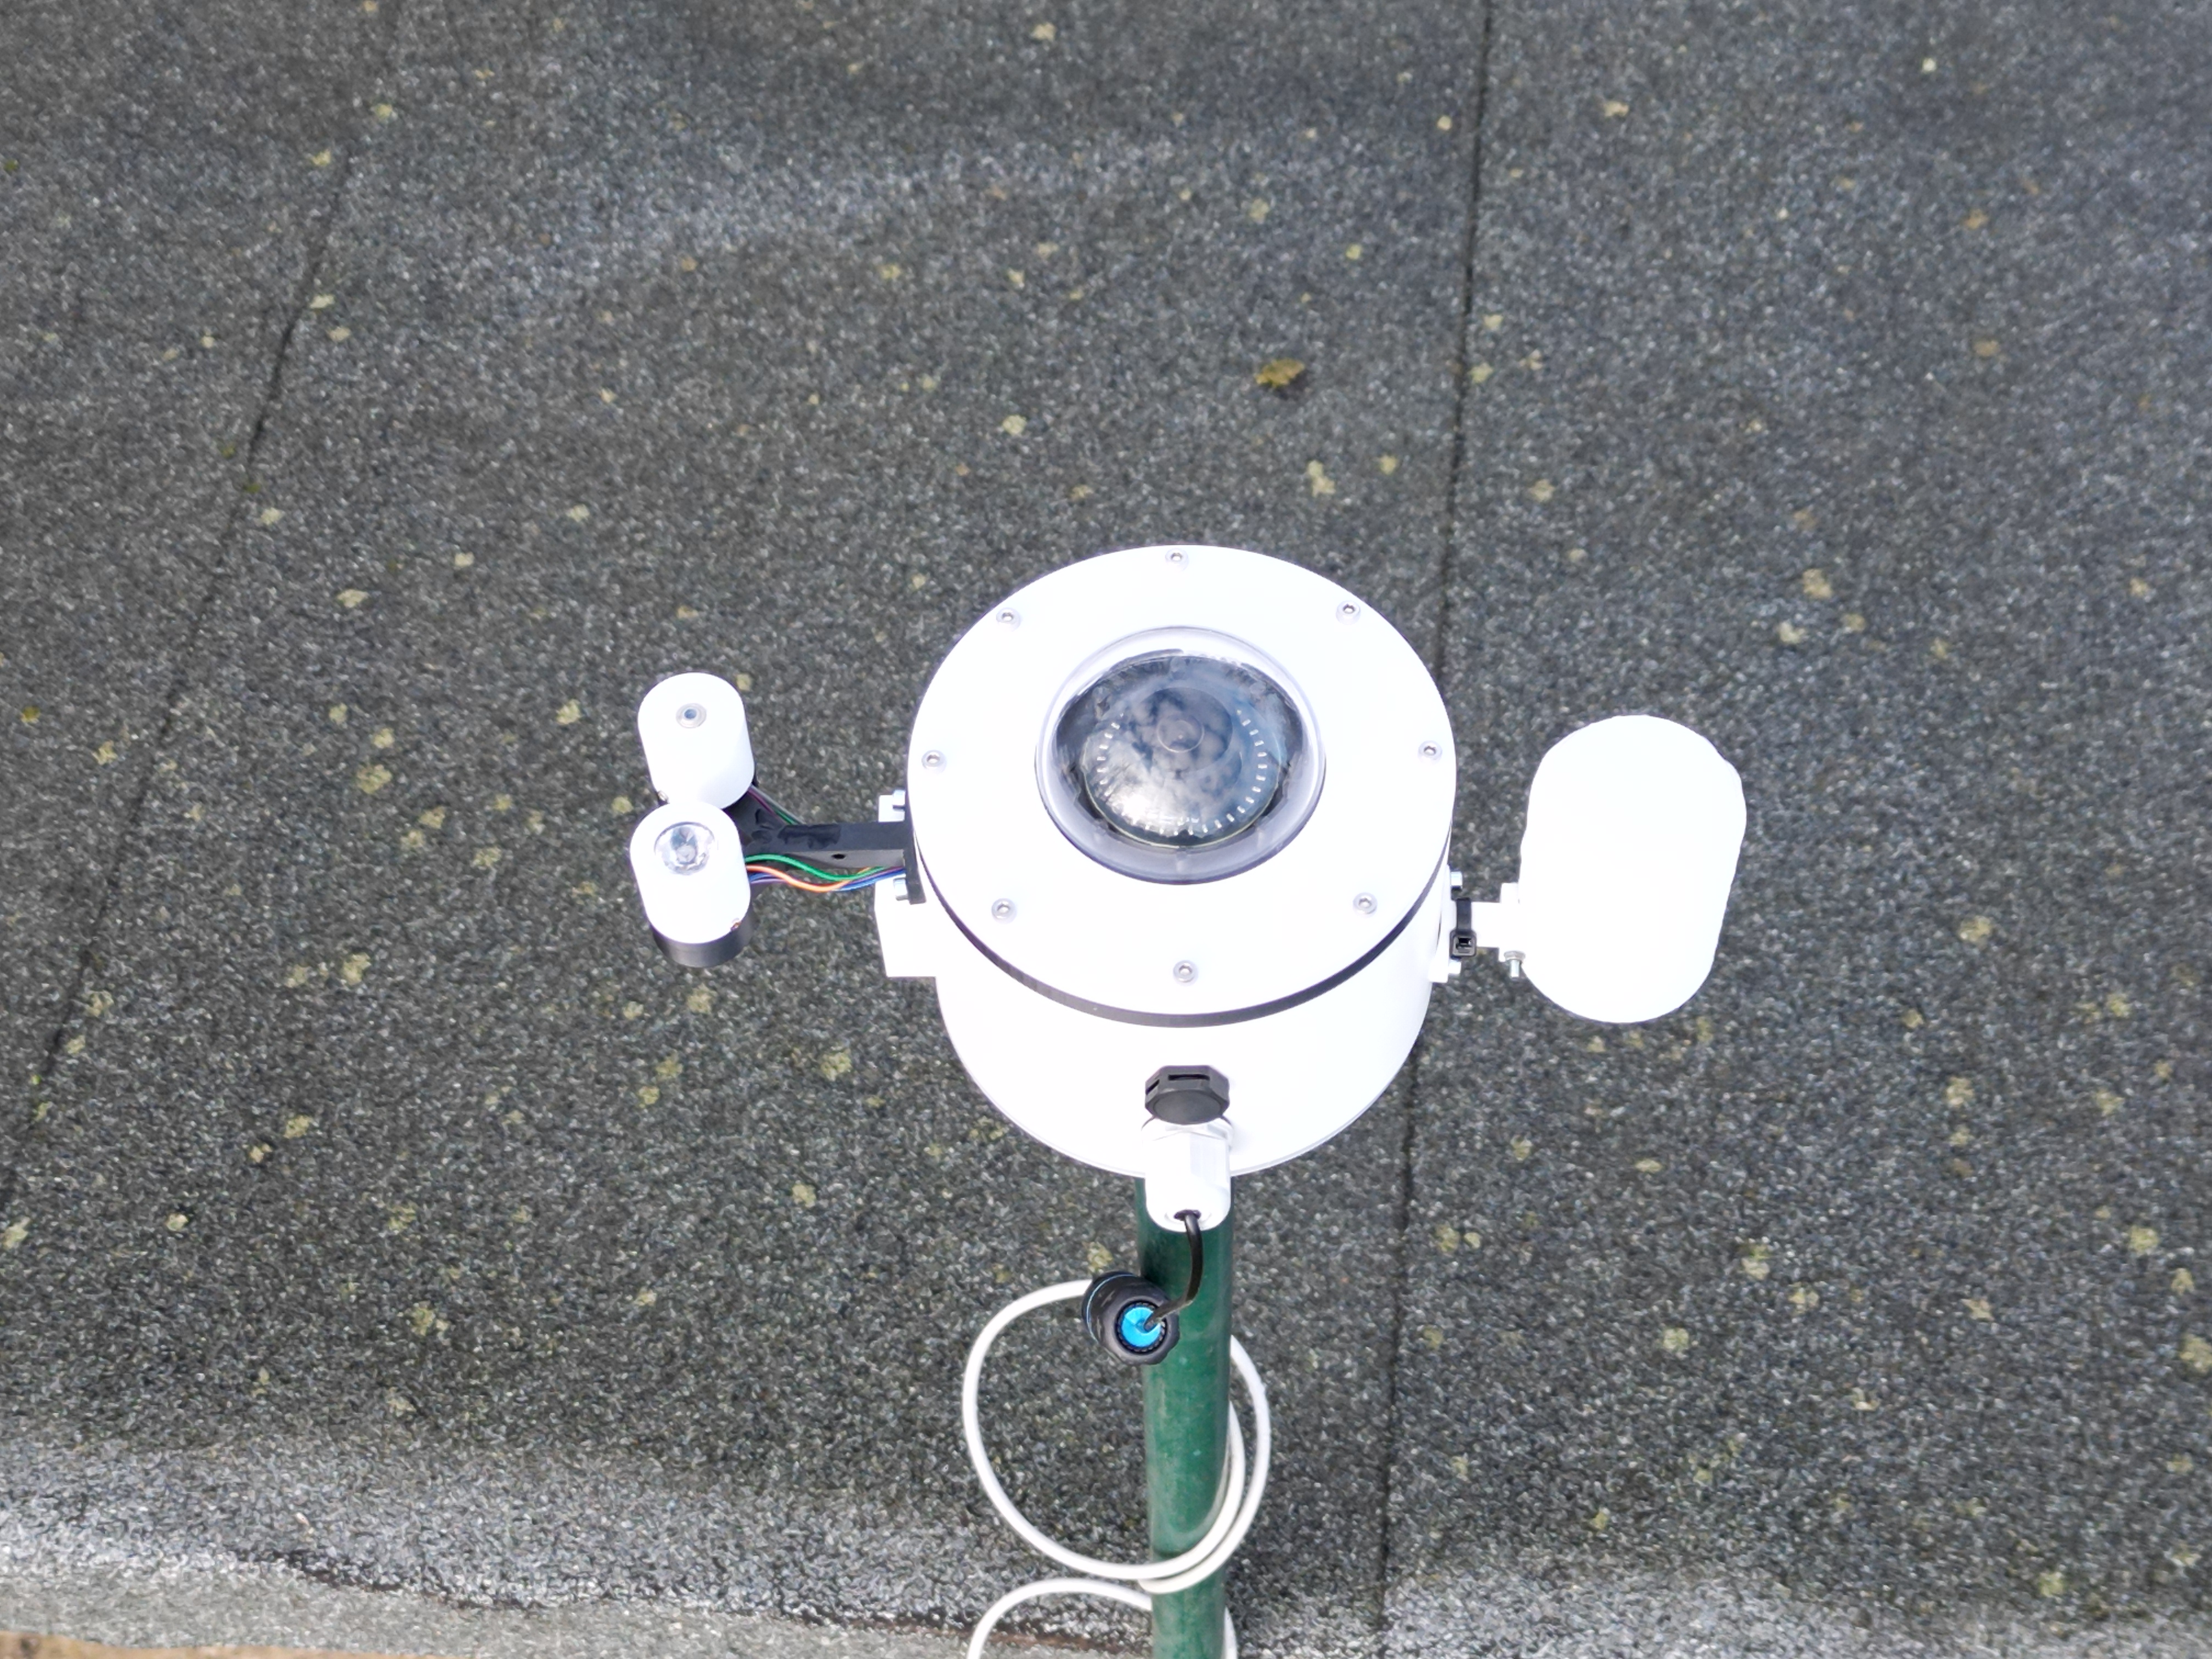
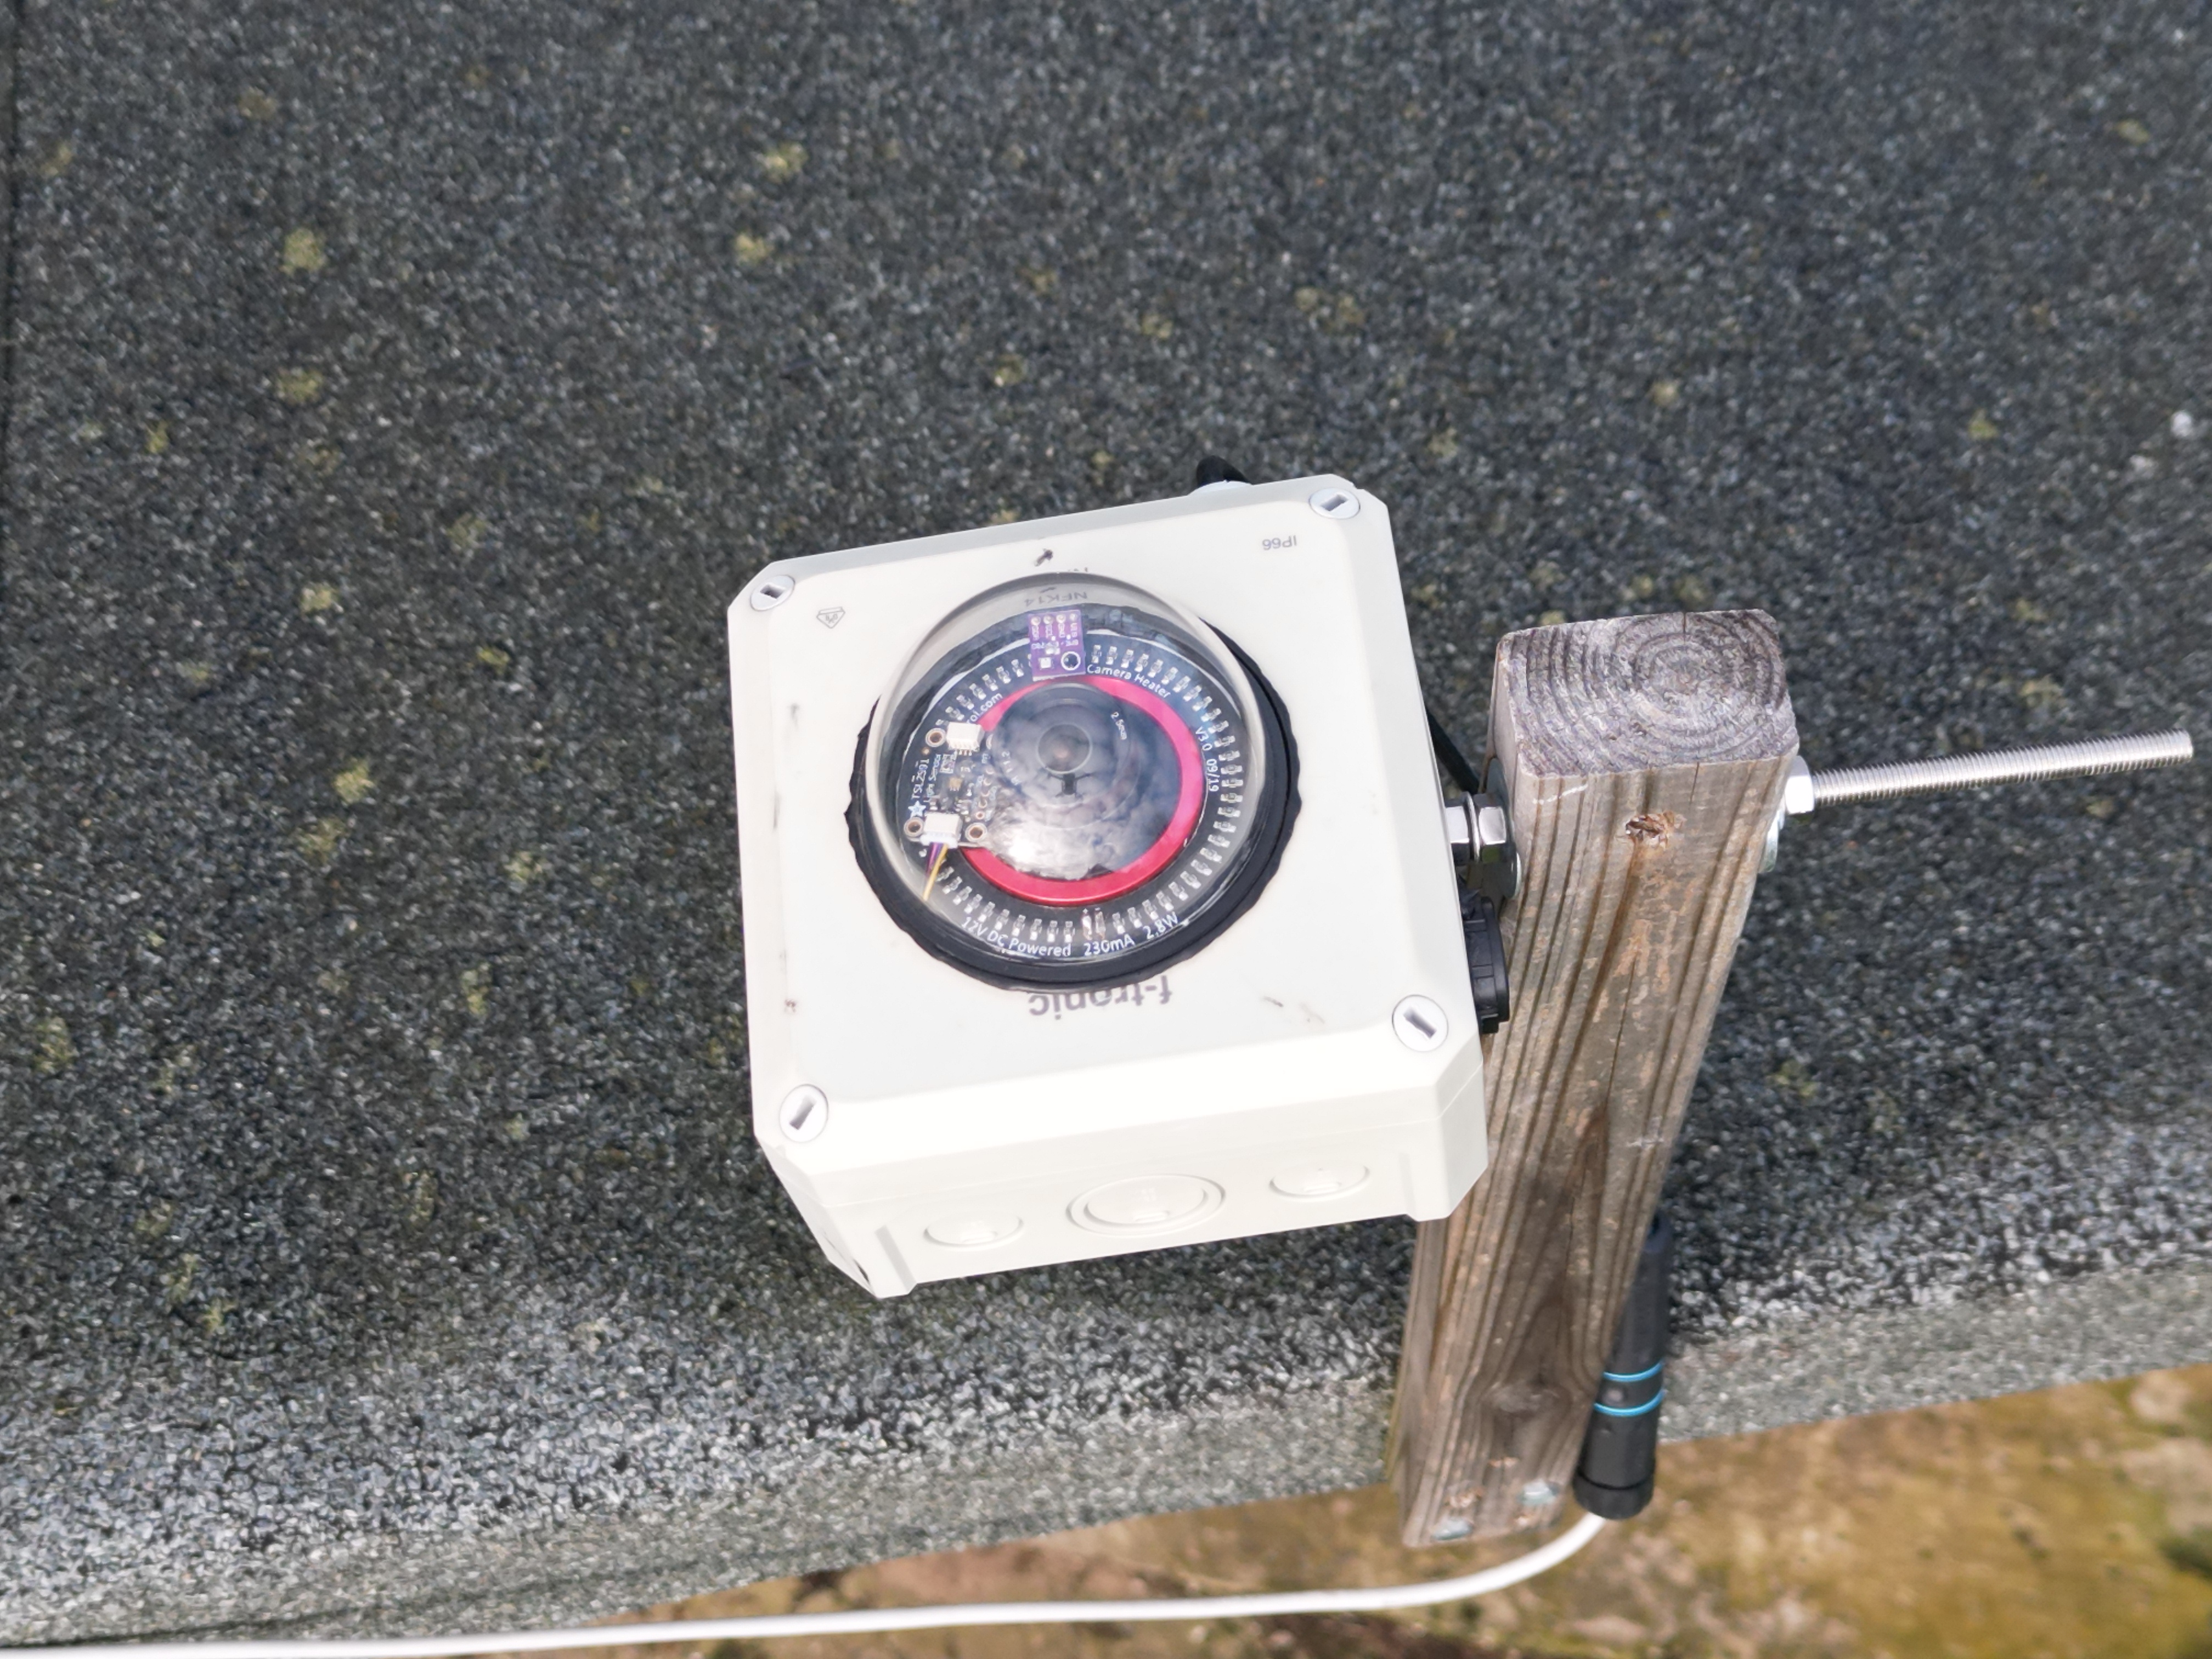
- Solid camera hardware (Raspberry Pi + camera)
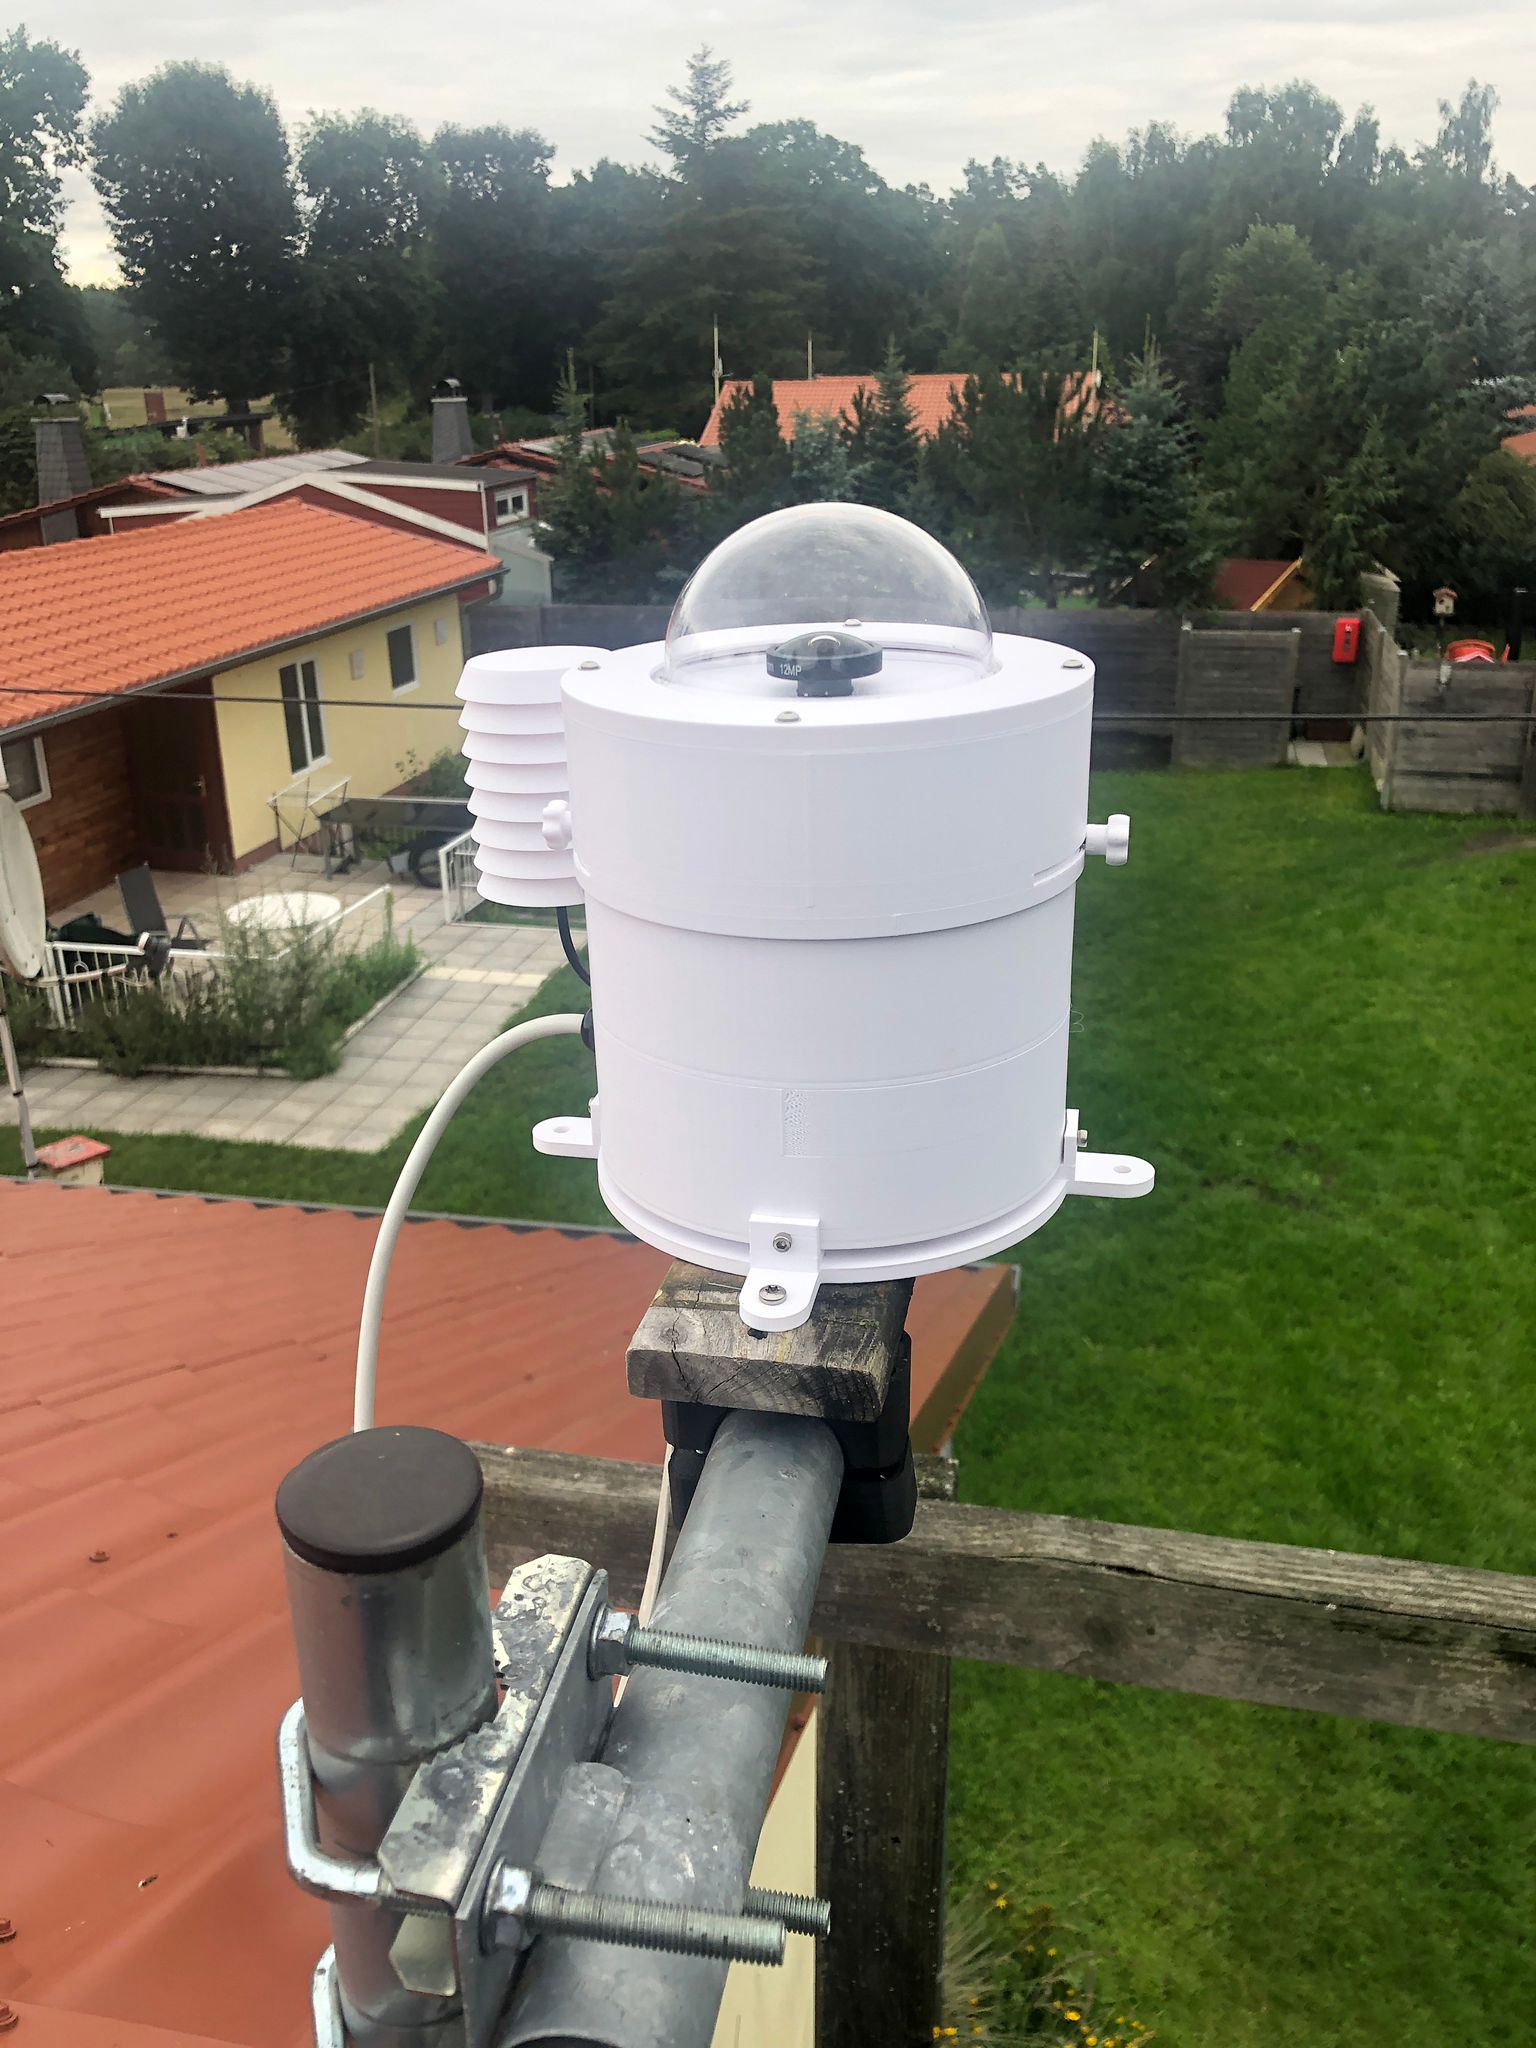
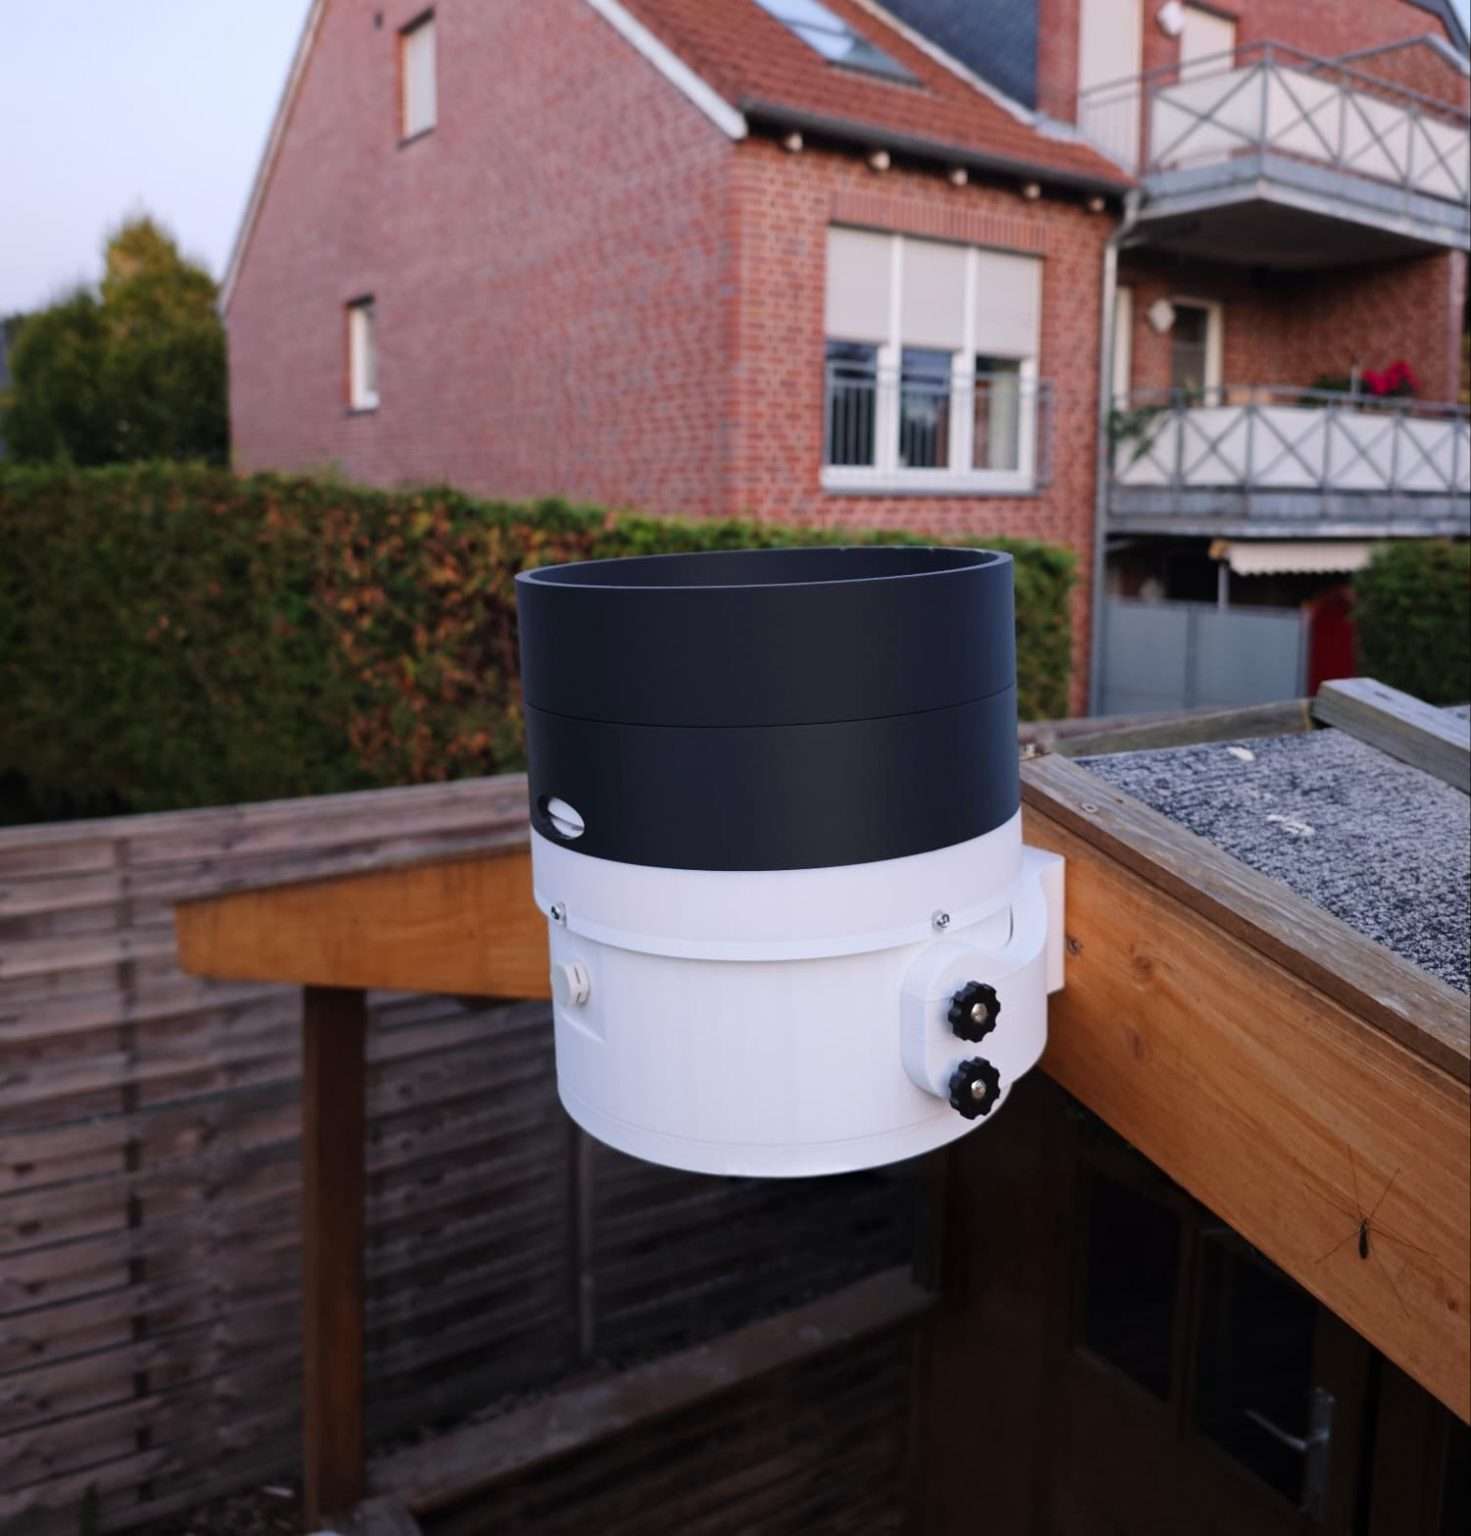
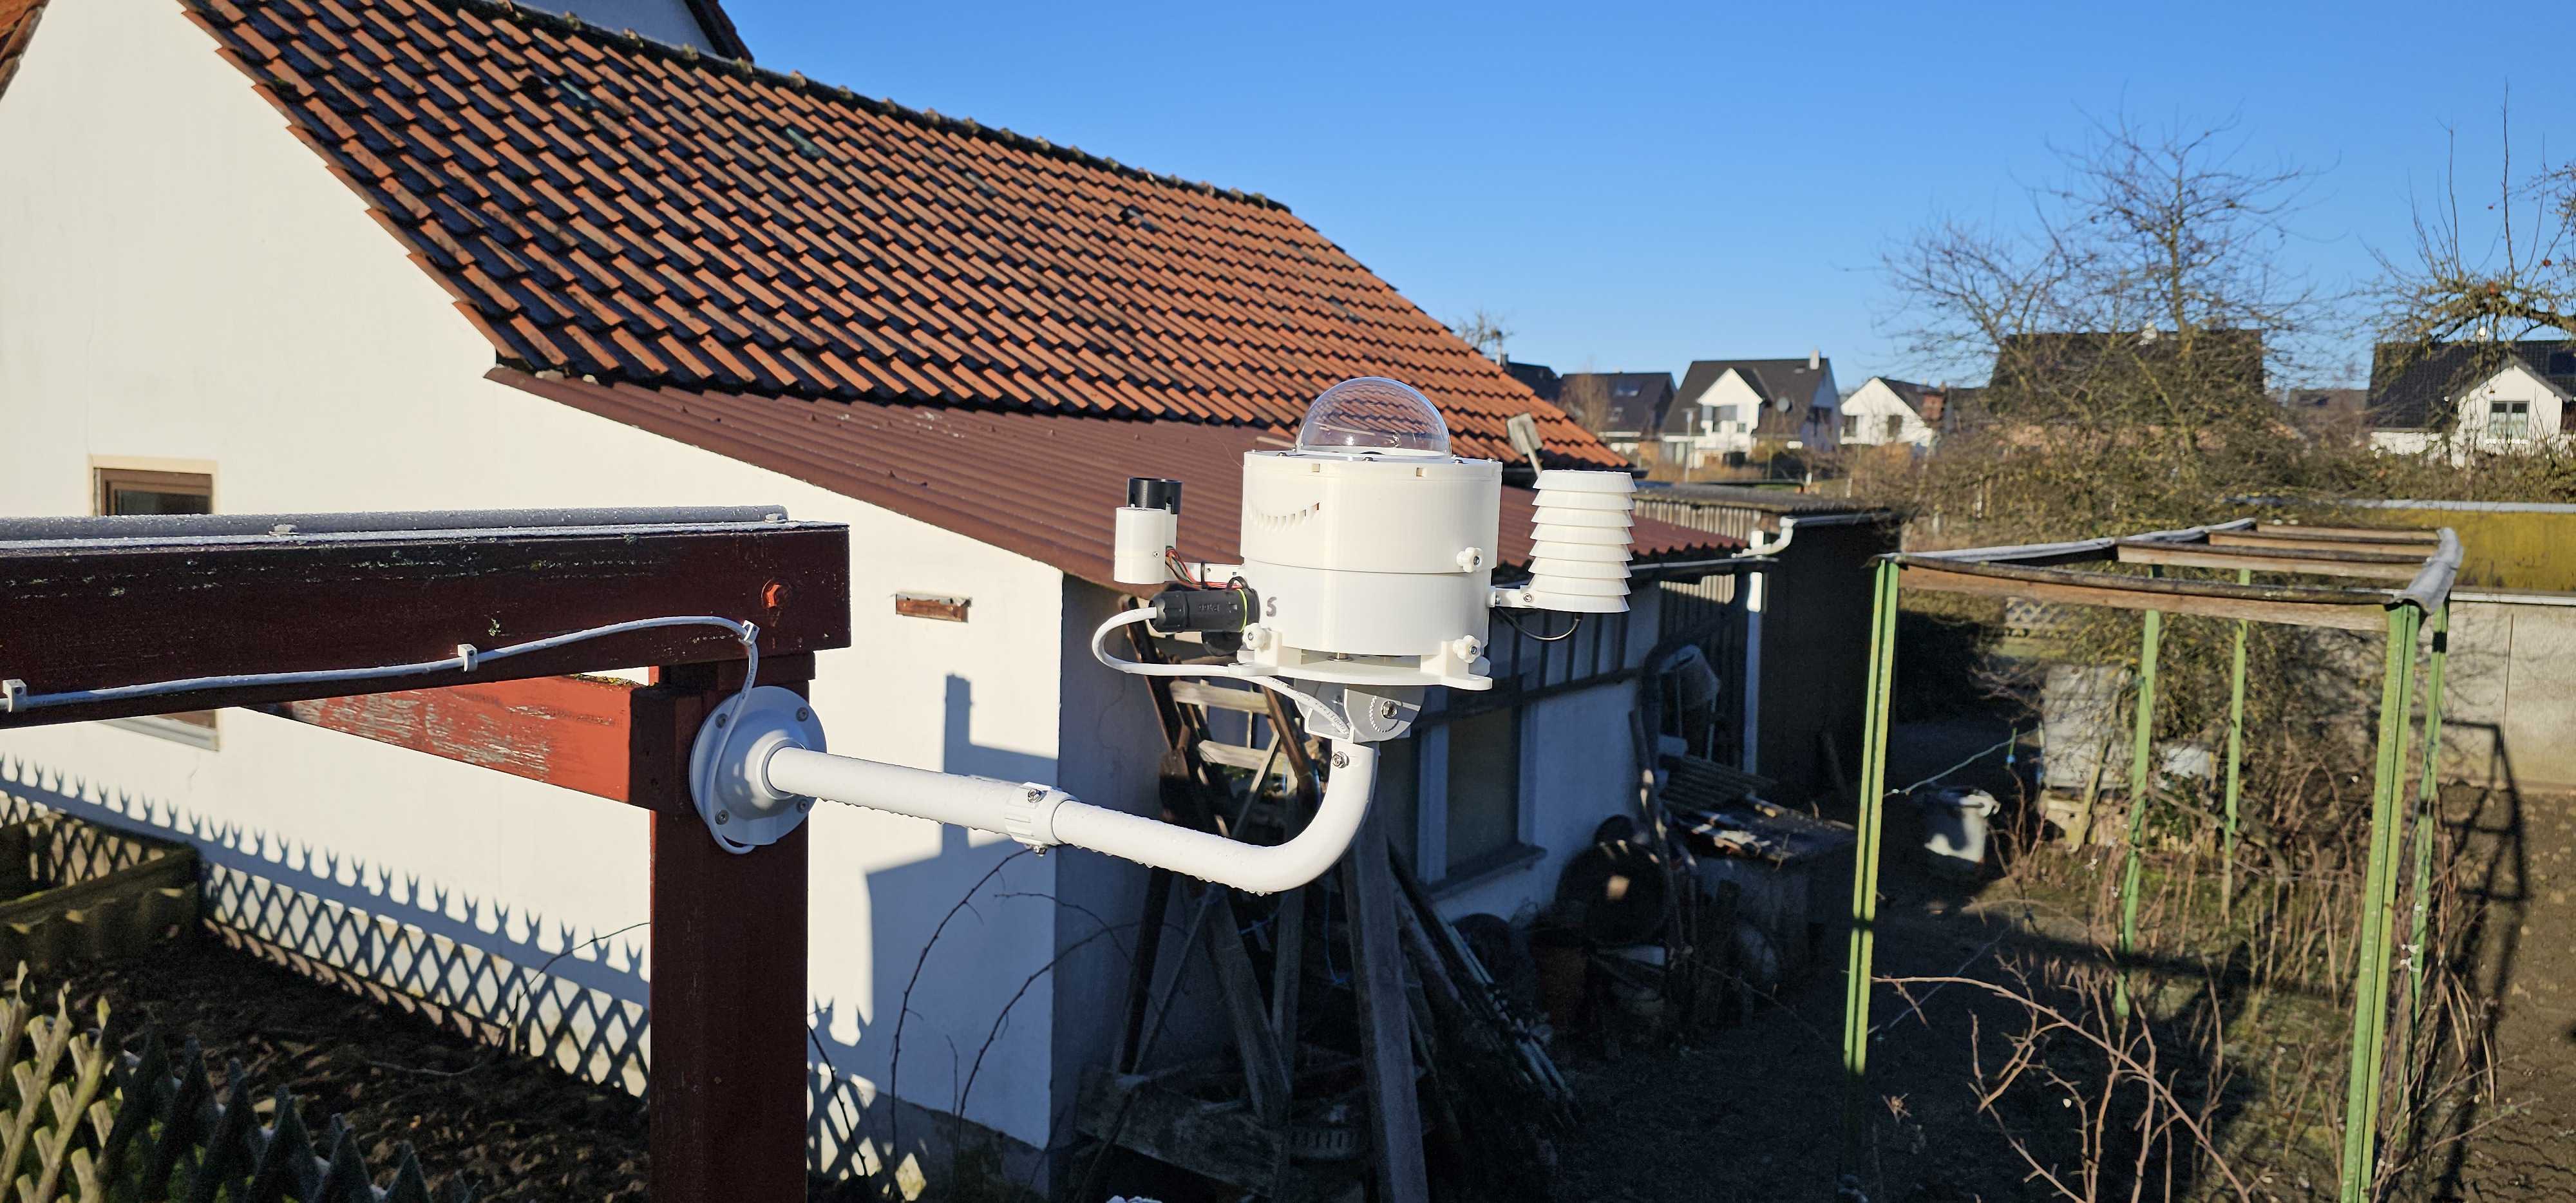
- Weatherproof housing and clean mounting
- Automatic image products from INDI-AllSky
- Optional: sensor data in InfluxDB + visualisation
❤️ Support the project
Building, documenting and operating the AllSkyKamera network takes time and resources. If these guides help you, you can support the project voluntarily.
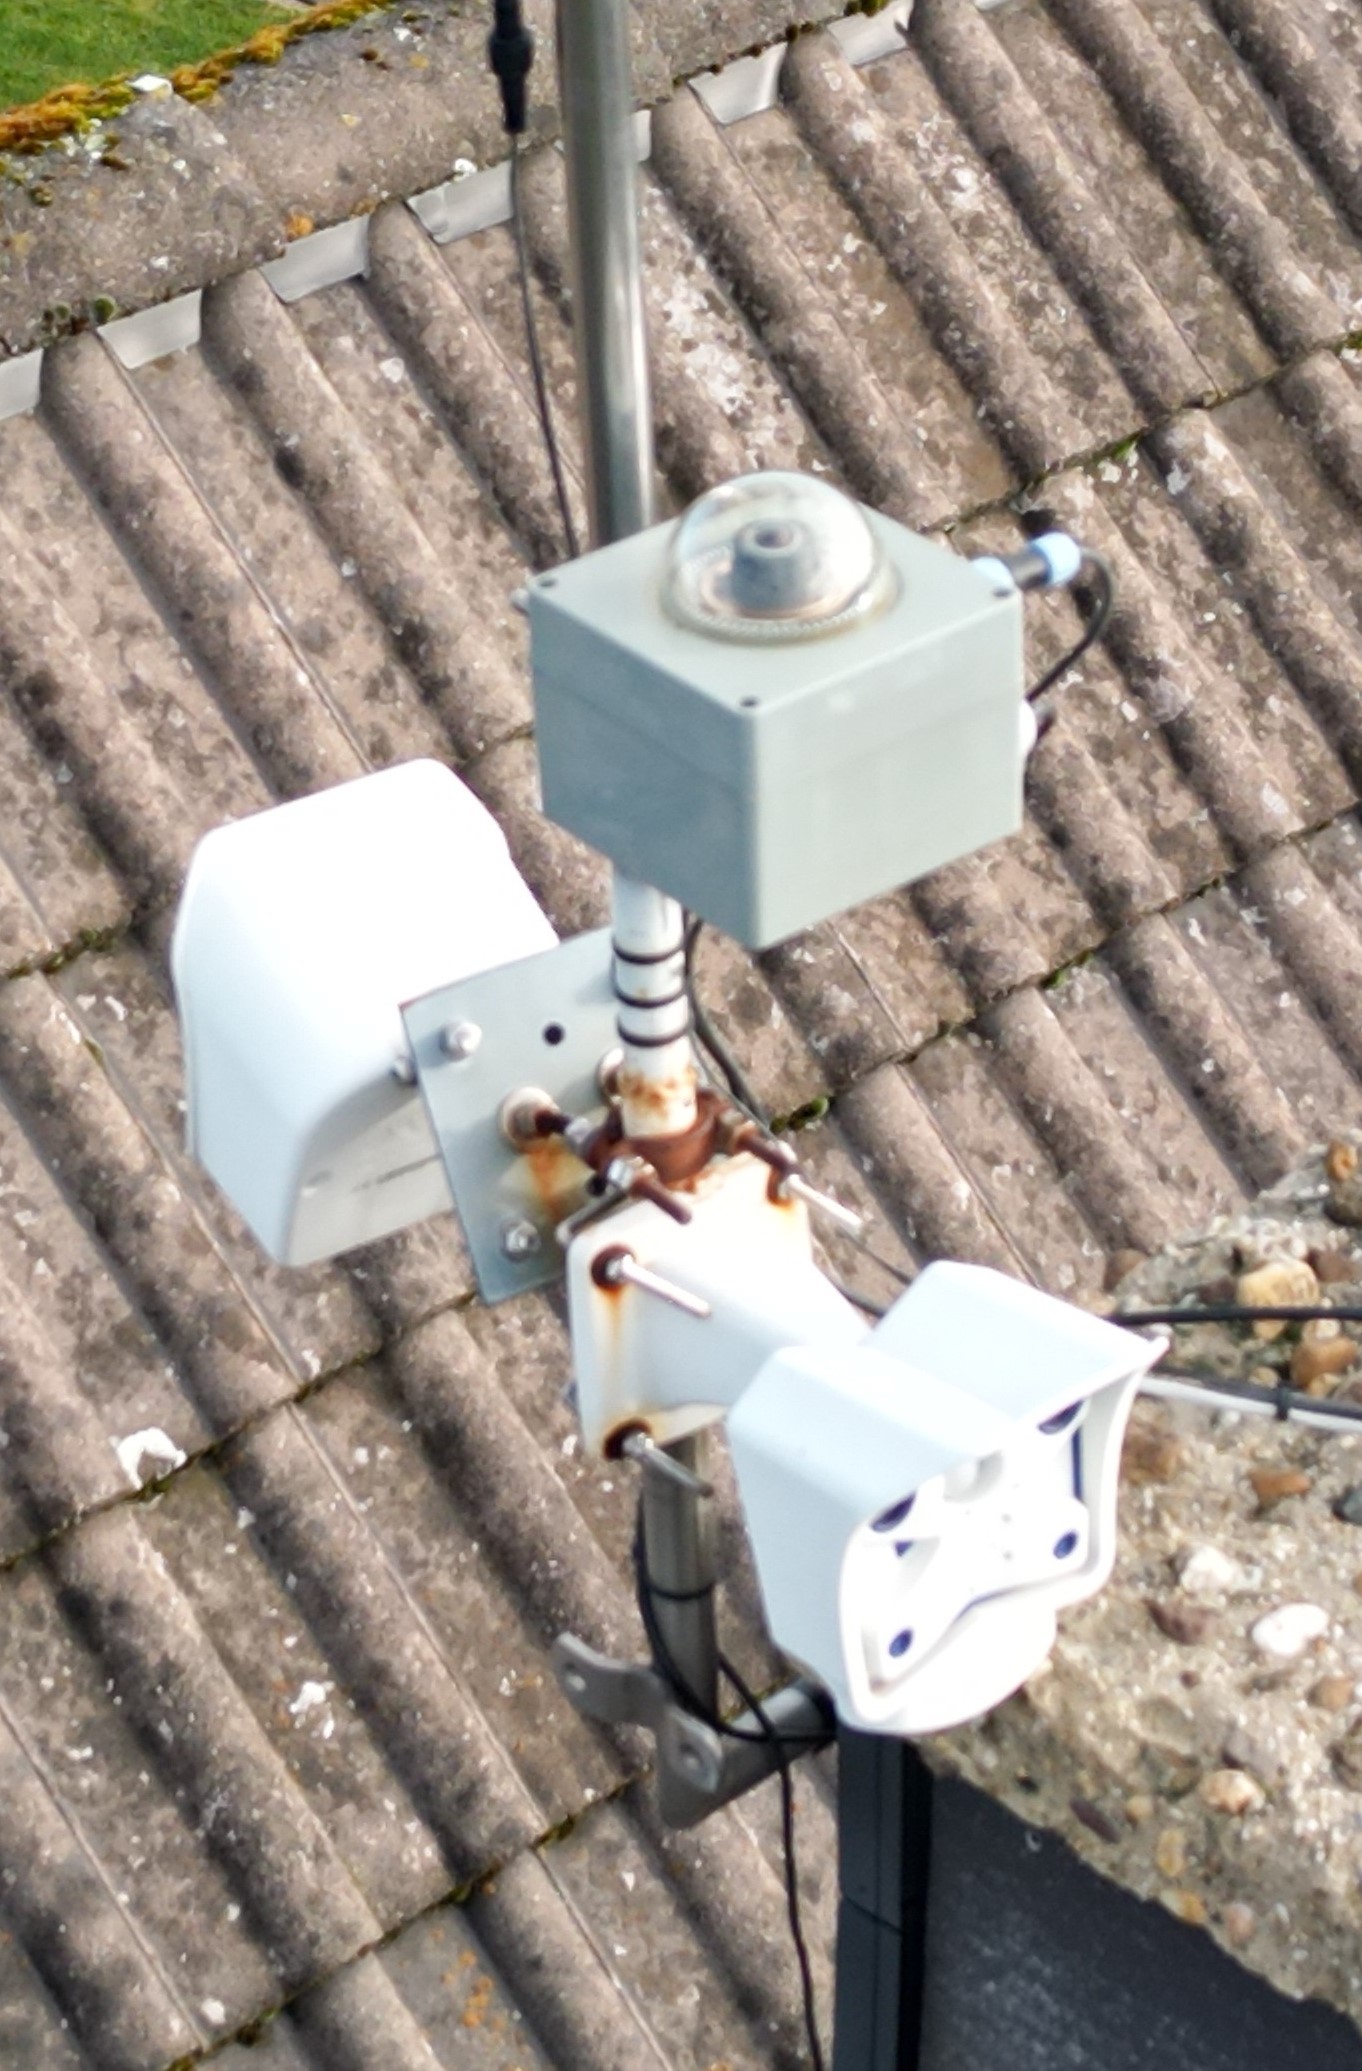
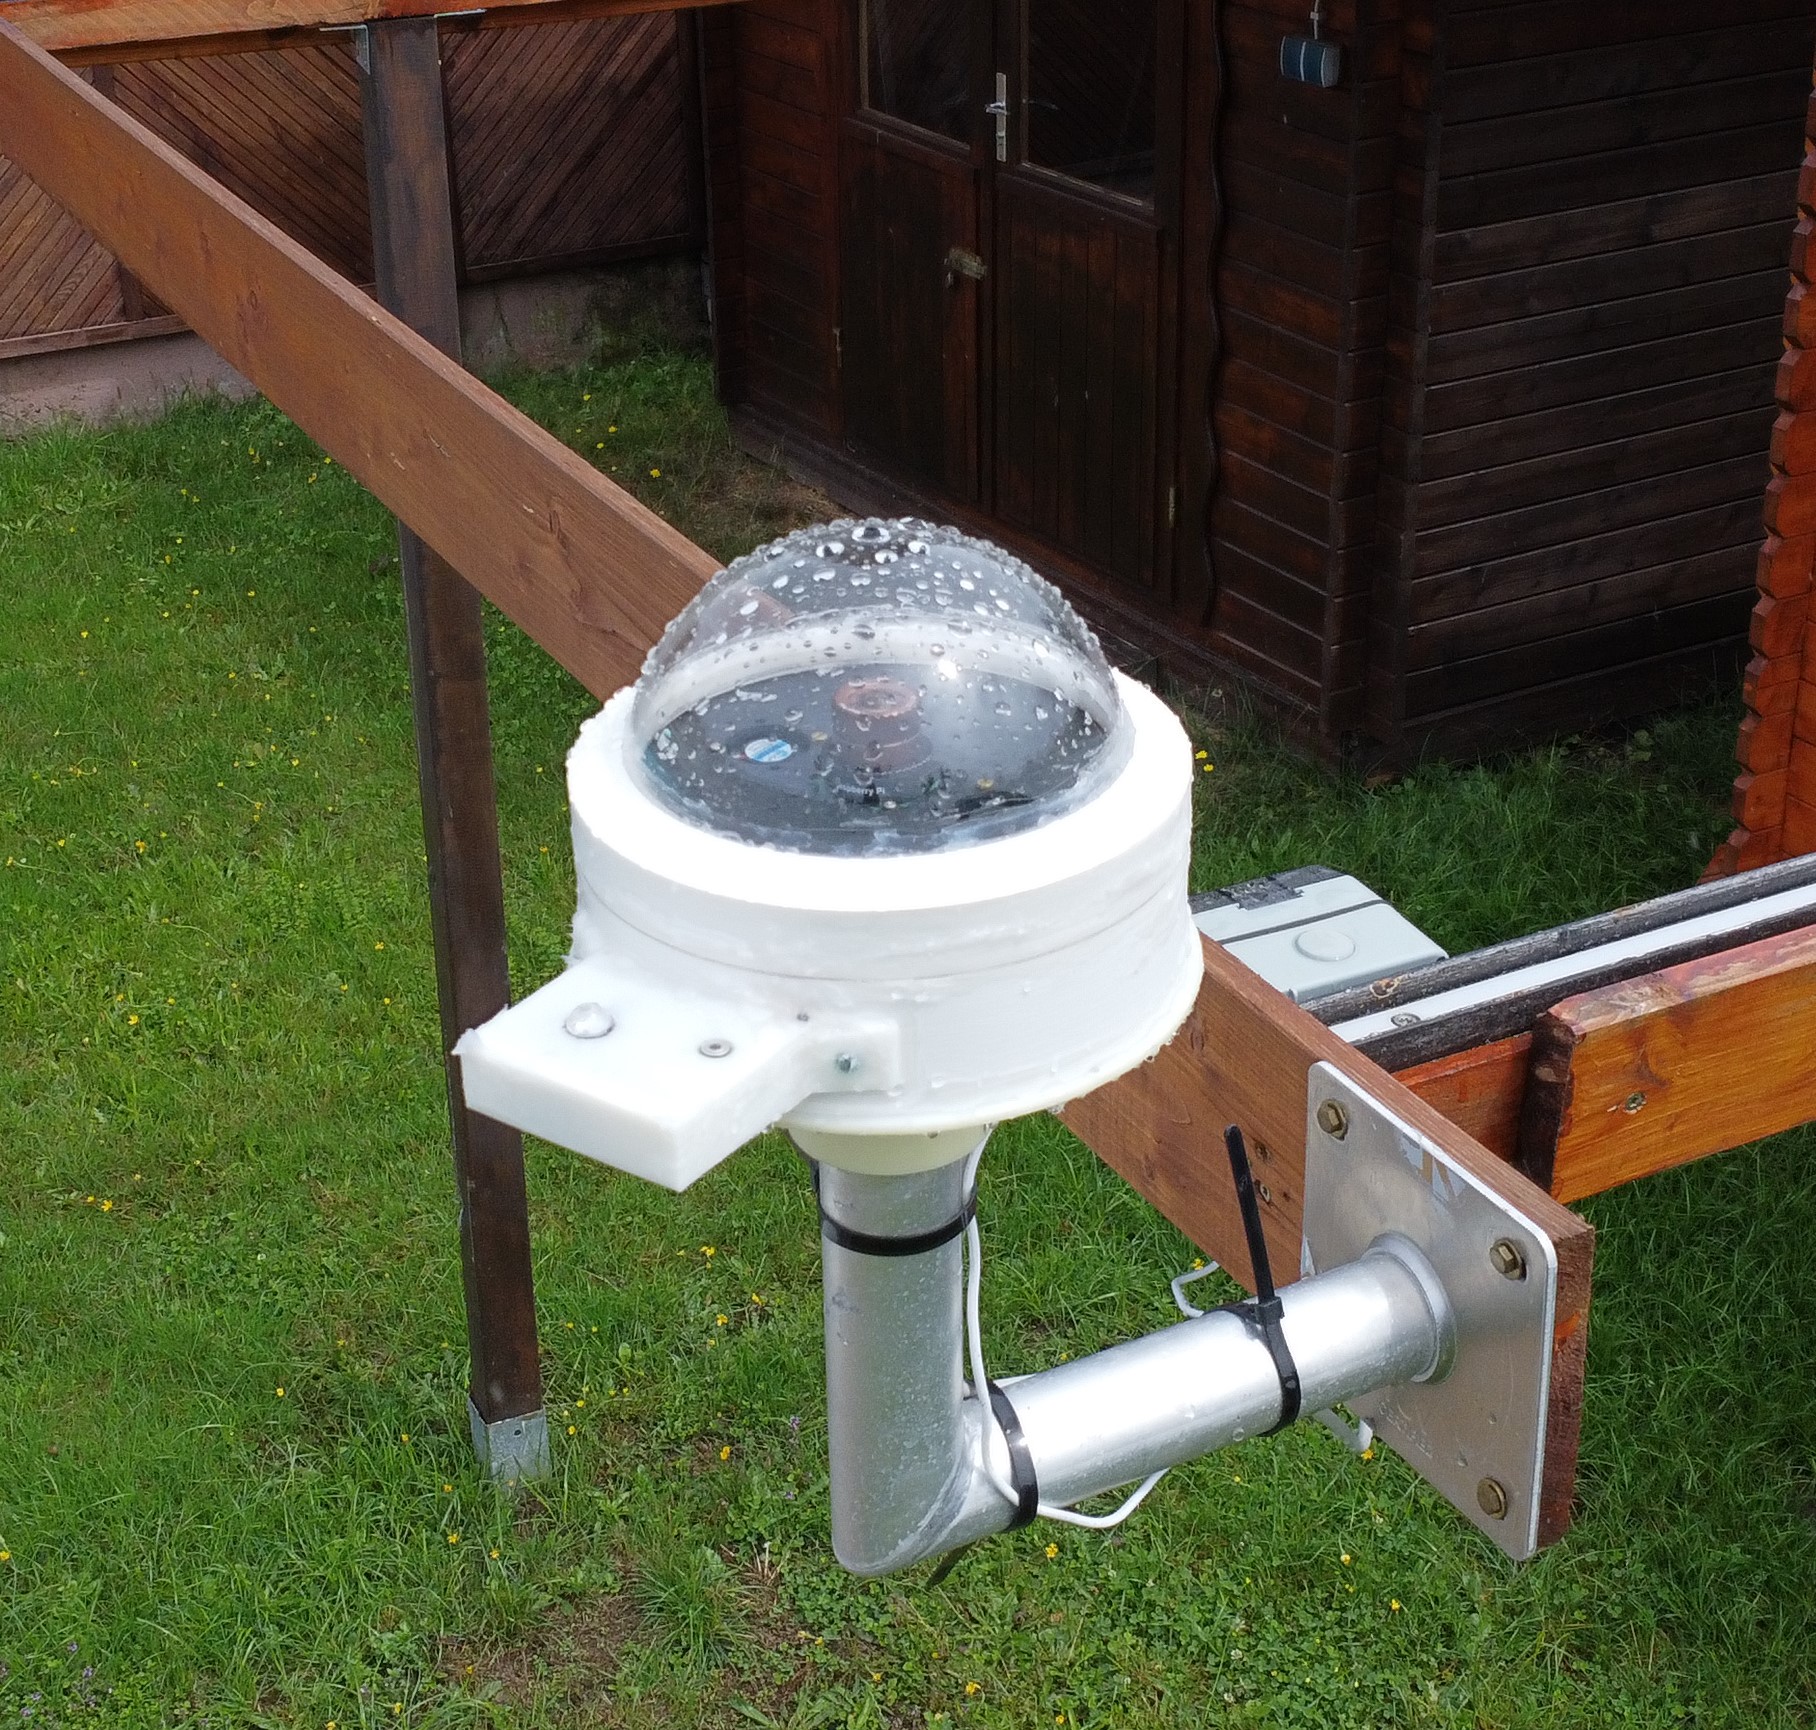
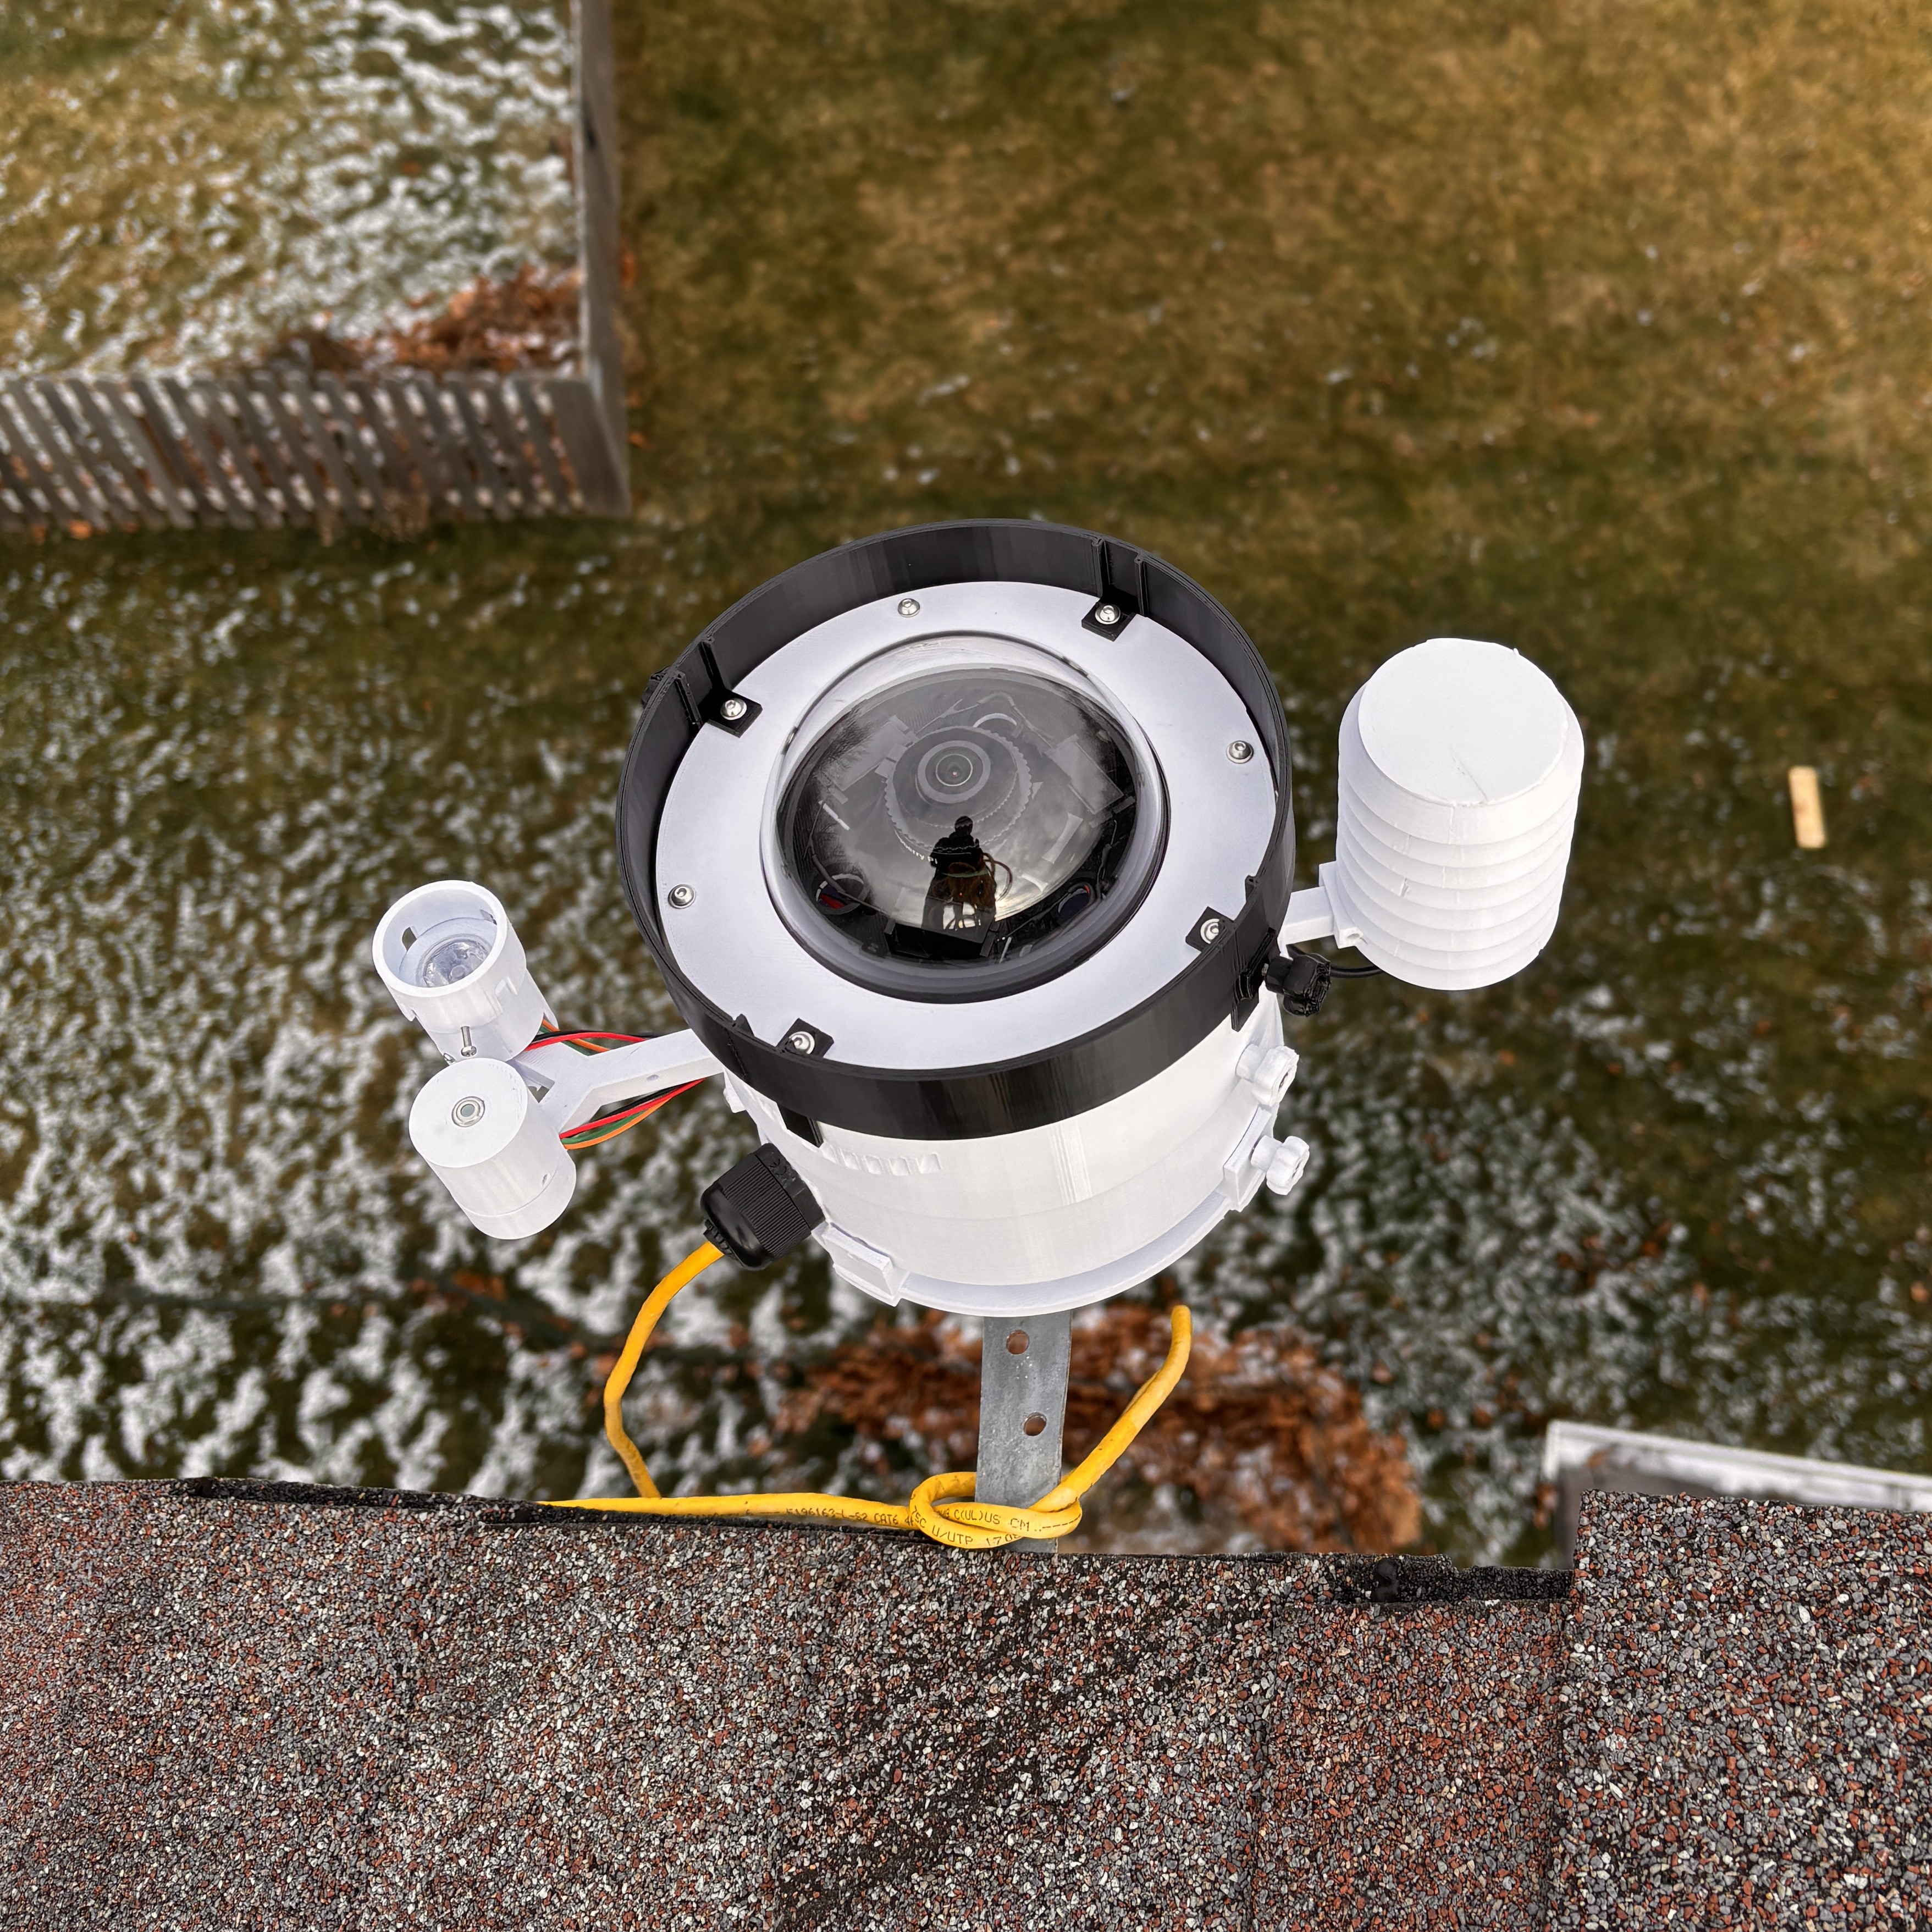
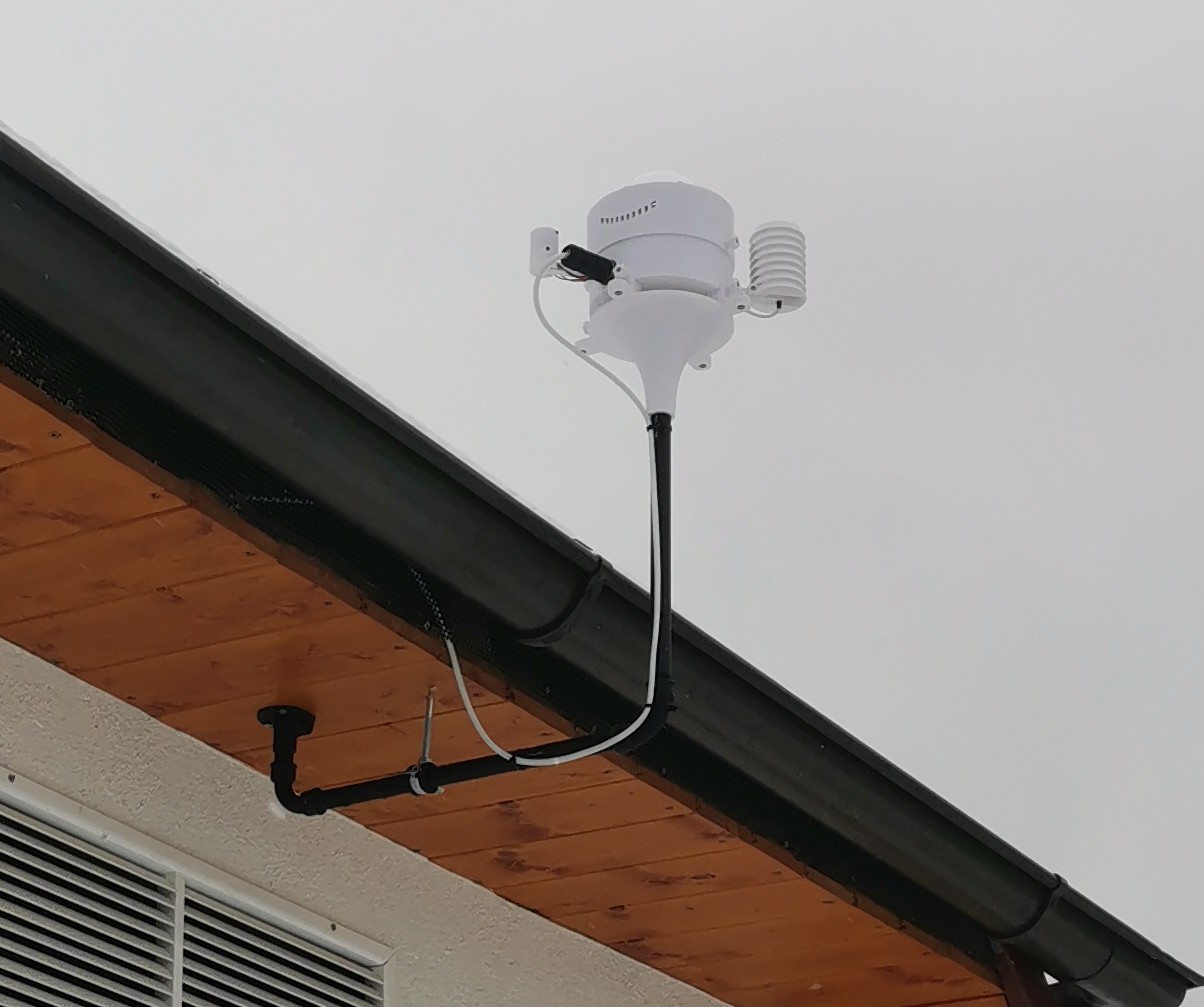
🖼️ Gallery
We collect photos of builds and example results here. If you want to contribute an image, send it to me and I will add it.